January 29th 2017
While I’m waiting for yet more parts (new valve lifters from BMW and some special tools to delve into the transmission, I figured I’d take the time to clean up the leaky final drive.
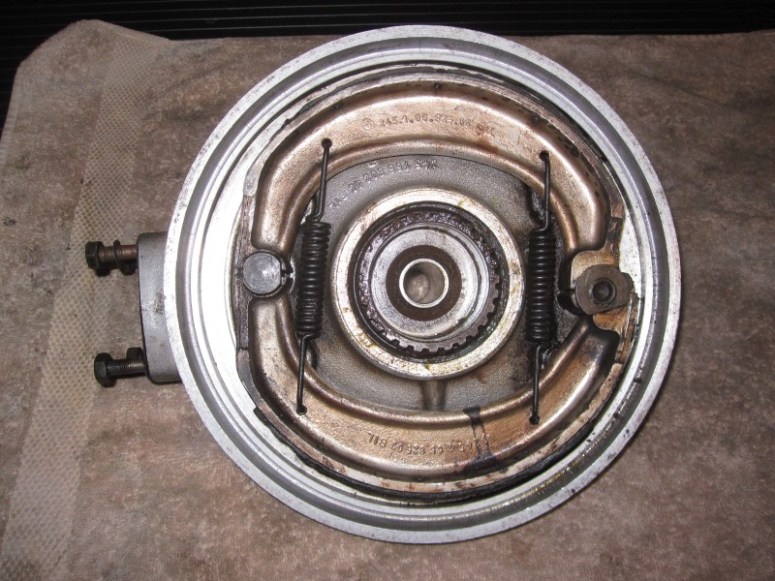
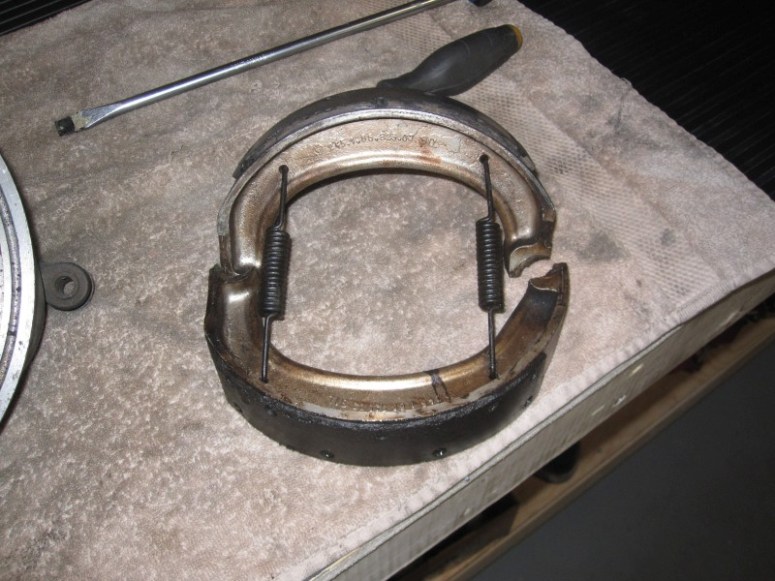
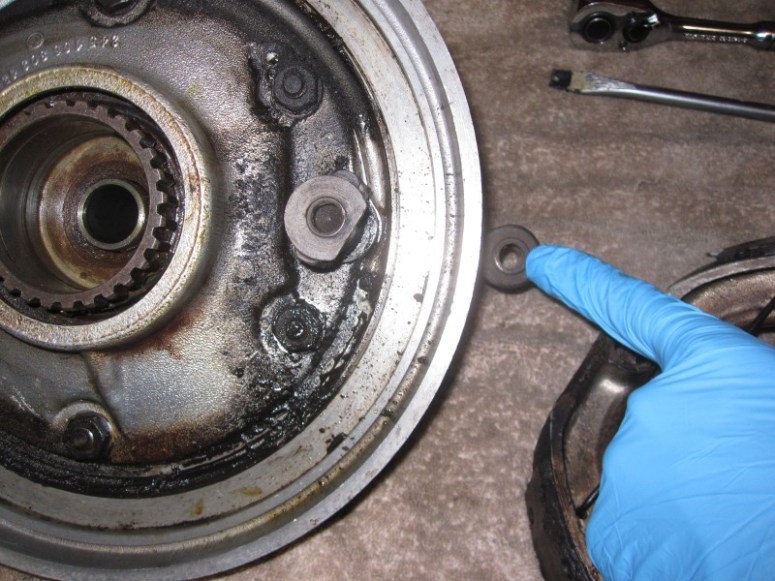
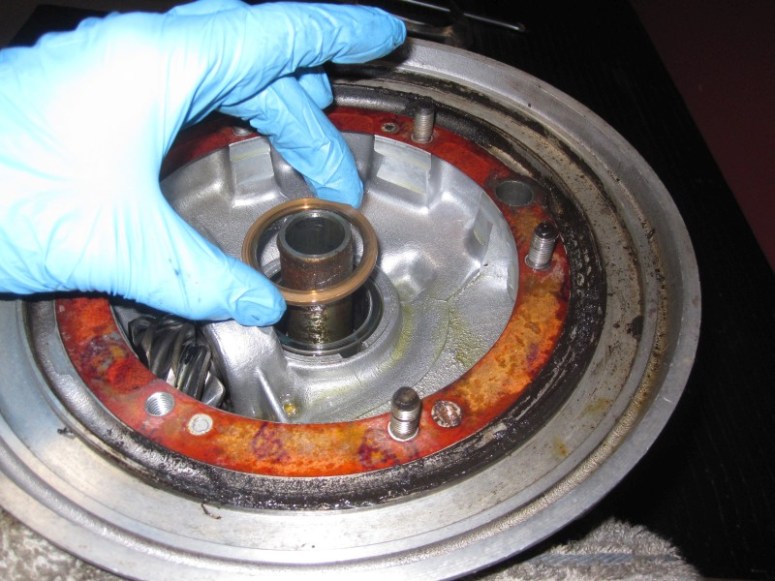
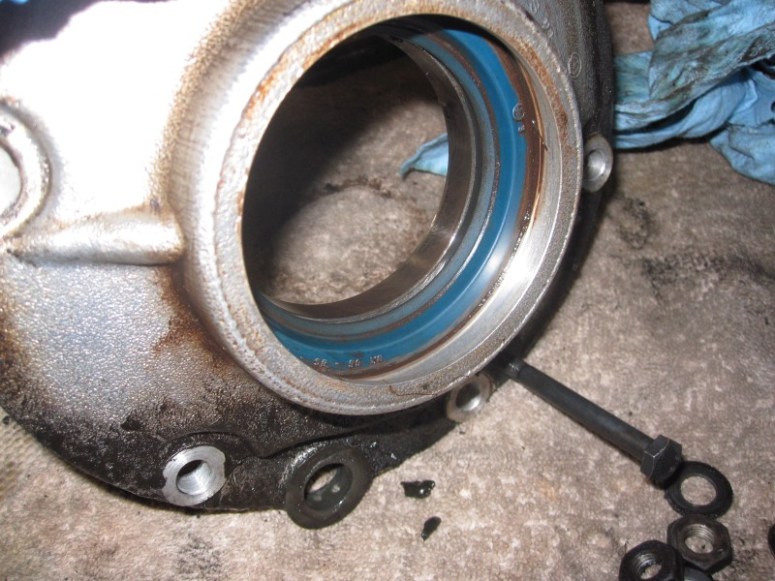
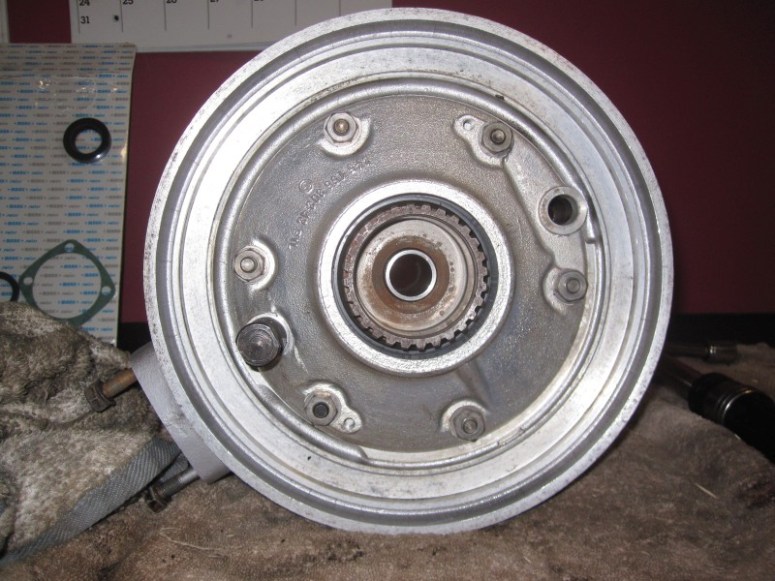
The brake shoes were levered off easily by applying a screwdriver under the lower brake shoe and lifting up. The idea is that you lever up the shoe that is facing the “cut-off” part of the washer at the 3:00 position on the photo above. You can leave the springs on and everything just pops out easily
There was quite a bit of old oil and crud here. The passageway that should let the escaping oil from the leaky main seal drip onto the wheel was blocked so instead the oil accumulated on the brake shoes and into this section.
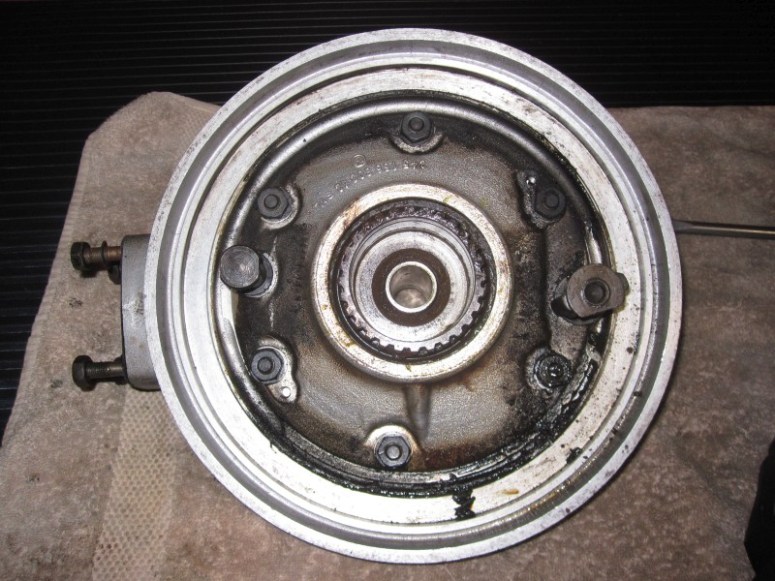
Thankfully there was no sign of leaking at the axle spindle seal, as replacing that one is quite a bit more “involved”.
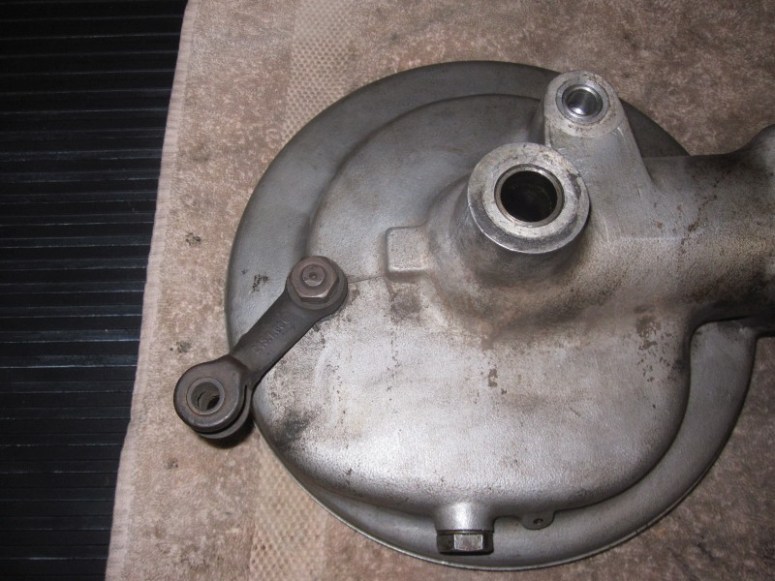
When taking the brake lever apart, I was sure do document the angle in relation to the “cut off” washer on the cam to help with later assembly.
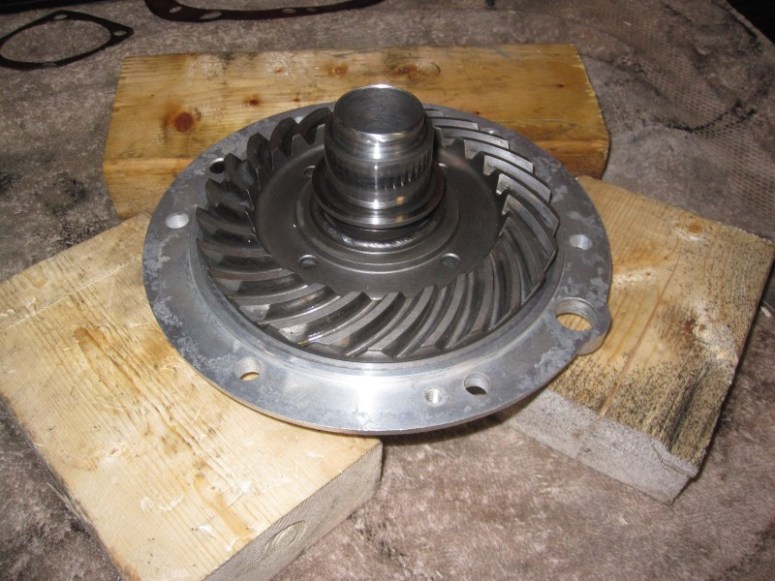
Next I removed the 6 nuts holding the crowngear holder and pushed it off using some bolts to press it off.
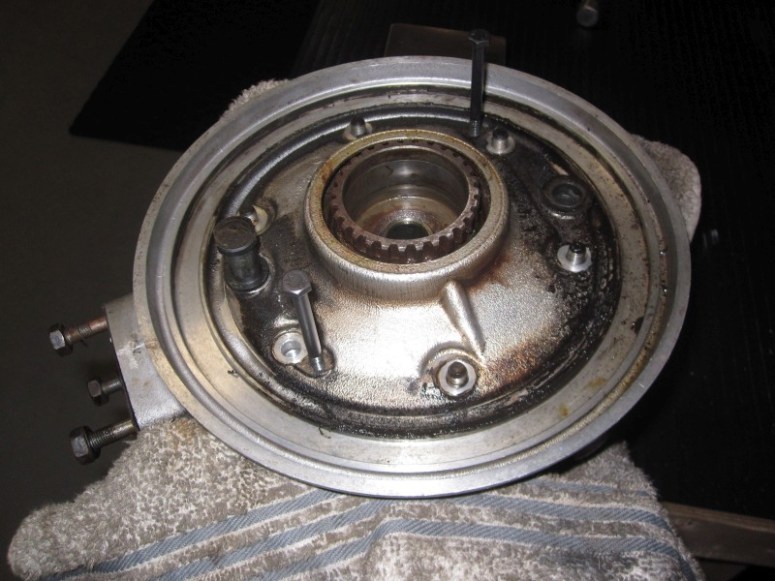
careful inspection showed no worn or chipped teeth in the crown gear.

Ditto for it’s matching mate inside the drive unit.

careful not to lose the spacer. There’s this one, then there’s another one hidden beneath the big bearing on the crown gear holder.
After applying a bit of heat to the unit…
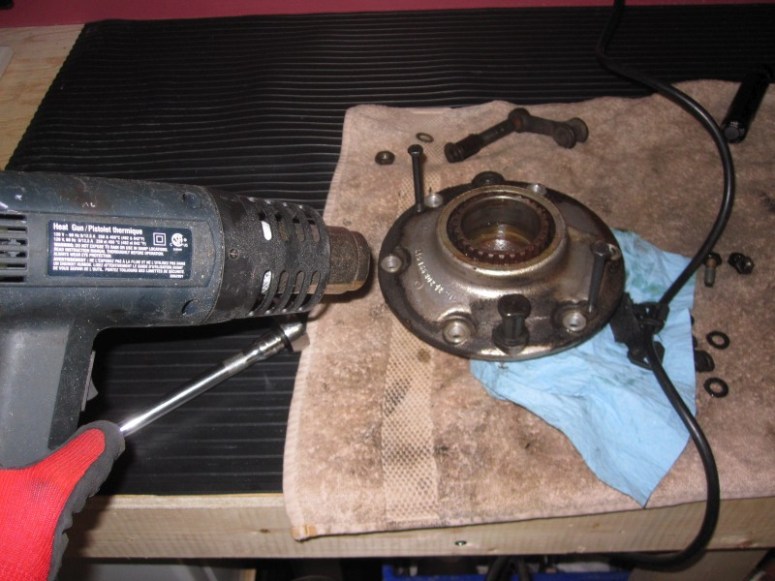
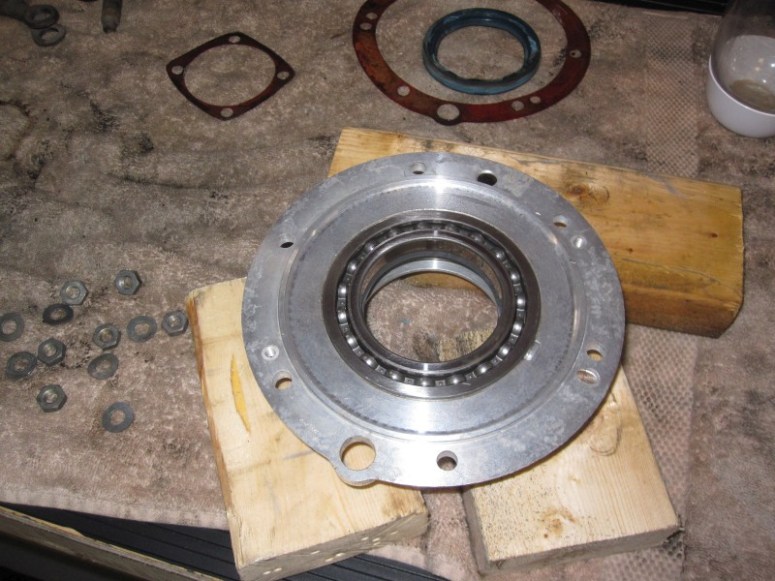
… things separated easily. We can now see the big bearing behind which is the leaky main seal.
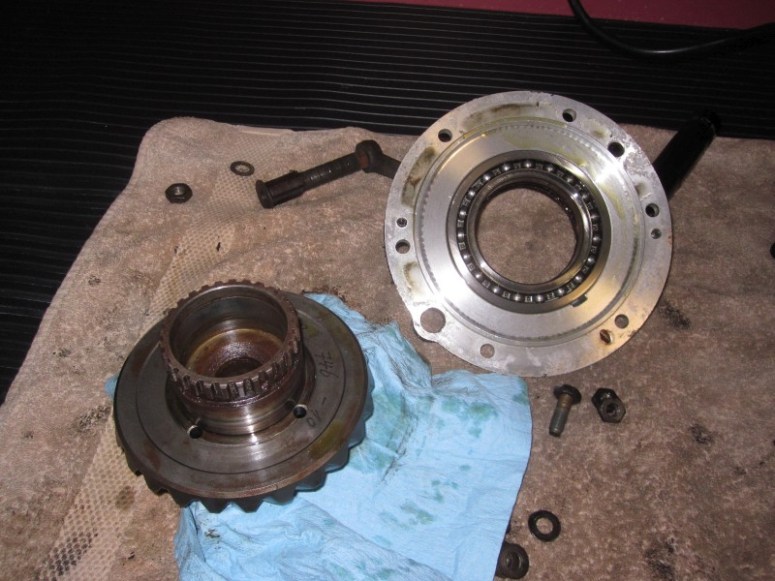
Despite being filled with crud, the splines looked to be in pretty good shape.

Here we see the blue gasket, the one that needs replacing. Really covered in dirt and grease.
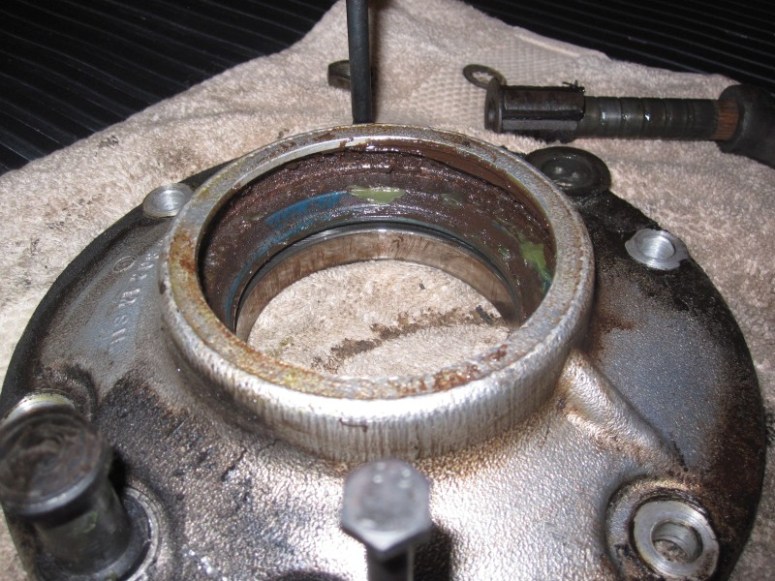
I wiped it off a bit before going at it. Of course to get it out it needs to go through the big hole, the one occupied by the bearing.
The big bearing is not really interested in going out at room temperature, so heated the whole thing up to about 225 Fahrenheit for about 15 minutes
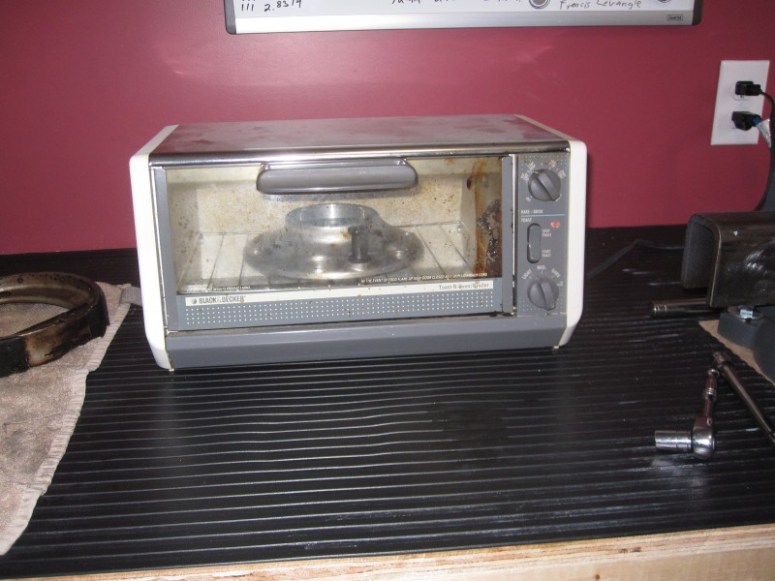
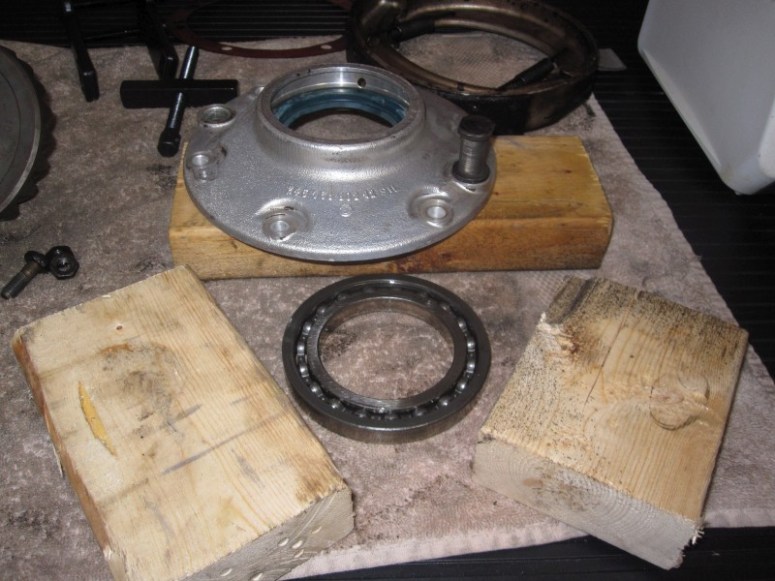
Then all that was needed was to drop the unit onto some blocks of wood, and out comes the bearing with its spacer.
Next the seal was hammered out with a wooded drift (the handle of a broken rubber mallet). Wood is used so as to not scratch or ding the aluminum carrier.

Next the brake pad needed a bit of attention. After washing them in a pinesol bath,
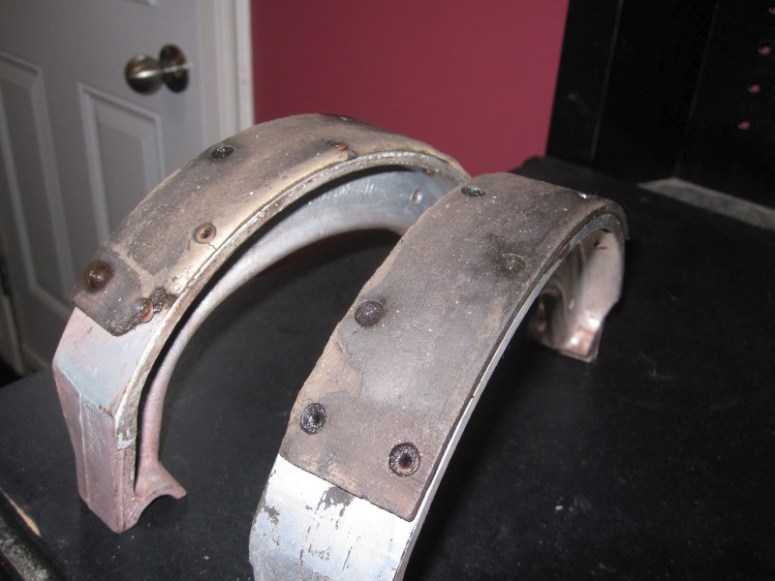
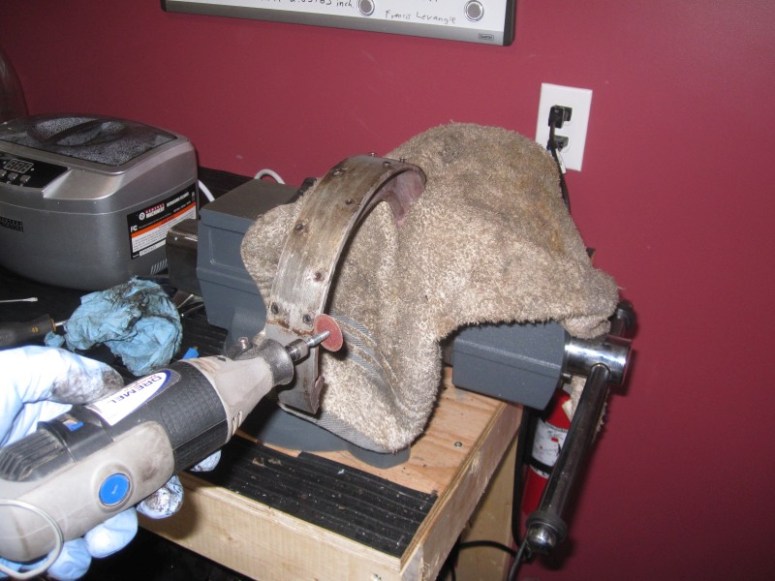
the old brake pads were removed with a hammer and screwdriver (they are quite brittle) and then the old rivets were removed using a cut-off wheel on a dremel before punching them out.
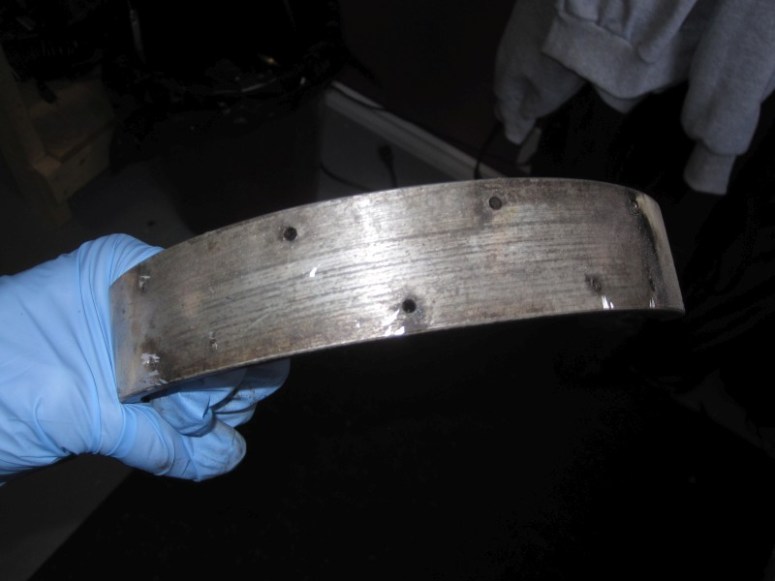
Now we have a clean but naked brake shoe.
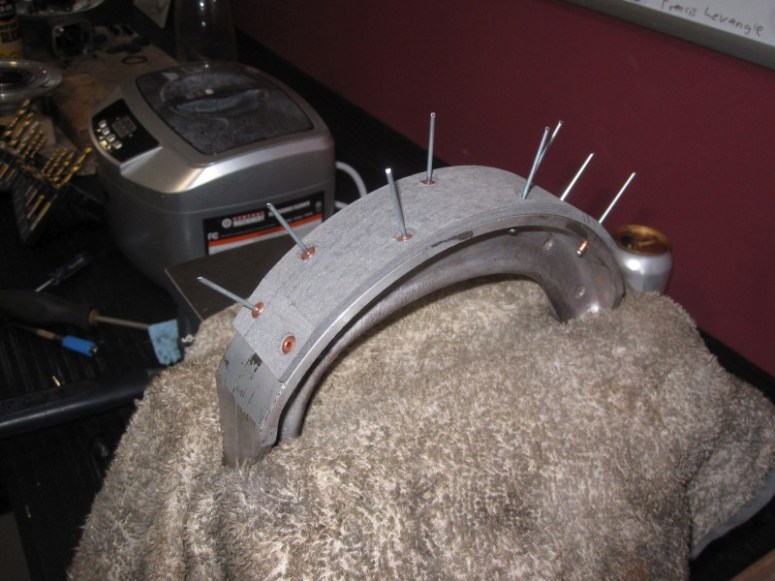
New shoe applied, held in place by a bunch of brass rivets (brass because they won’t harm the inner part of the brake drum when the shoes wear out).
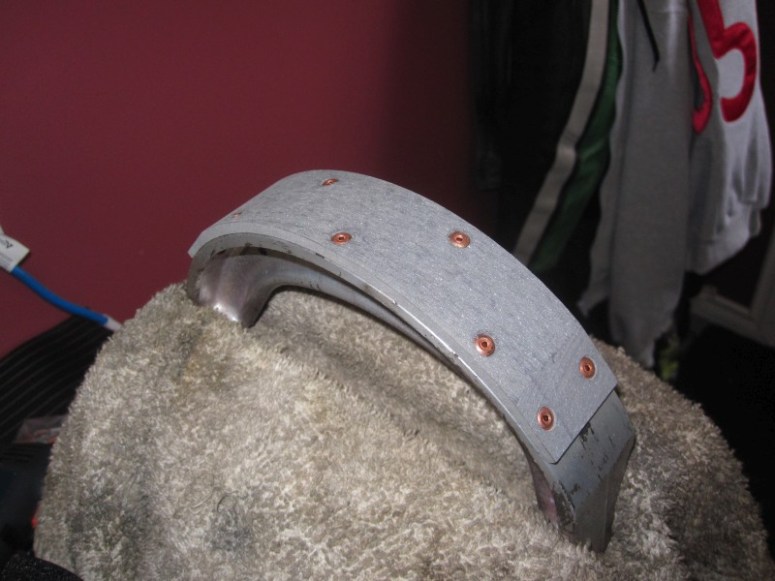
And the finished product.
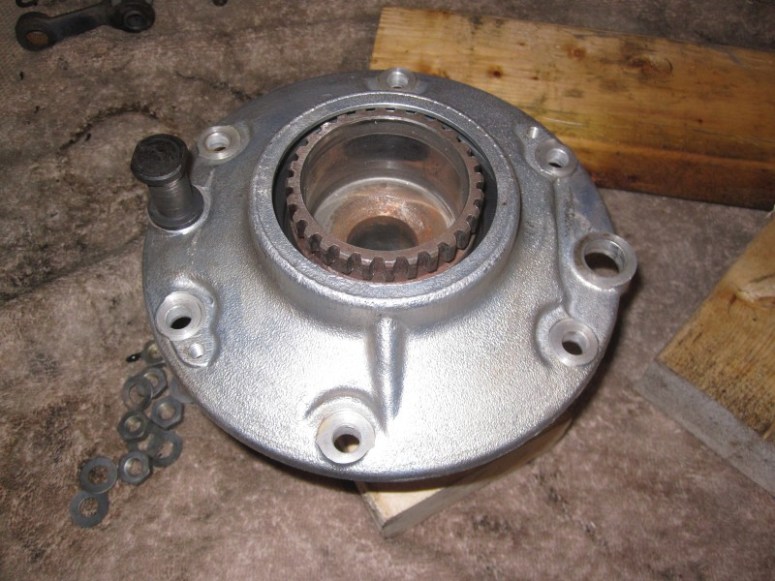
Fresh gasket on the cleaned up final drive unit,

Fresh gasket in bearing carrier, Again warmed up to 200 F and the bearing went in the freezer for a couple of hours, slid right in without any mechanical persuation.
and finally the crown gear in its housing. This too was chilled before serving.
I did have a bit of difficulty in getting the splines through the new gasket without damaging it. At first I tried covering them with saran wrap to hopefully slide past the gasket, but this didn’t work, the saran wrap got pinched on the gasket and when I pulled it out, it flipped the lip of the gasket over the teeth in one section. Had to backtrack and remove the bearing to reset the gasket properly.
I then tried to shim it with a section of thin aluminum from a beer can. The idea was to slide the seal over the teeth while protecting it with the can. Because it’s such a tight fit, the shim wouldn’t go past the bearing. Finally, I just carefully lowered the carrier over the splines and used my fingernails to push the gasket over the teeth in 90 degree sections at a time. This proved successful without putting any strain on the rubber gasket. Once over the gasket, the crown gear slid easily onto the carrier.
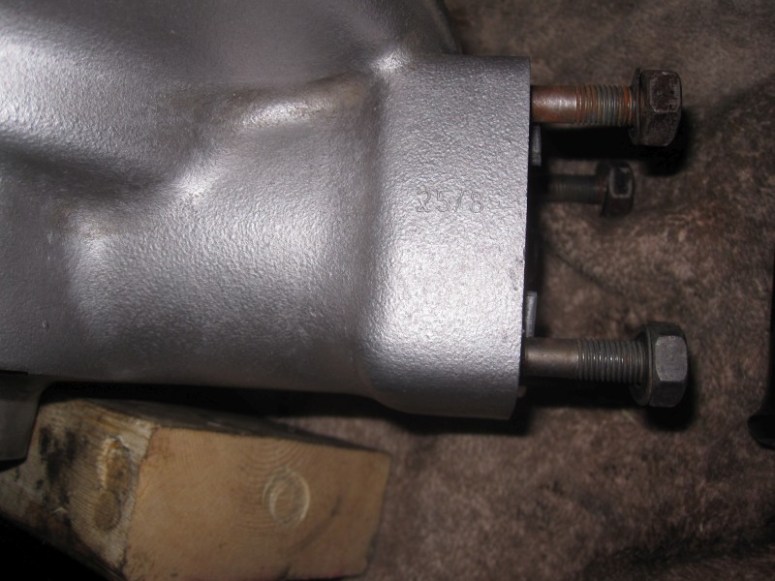
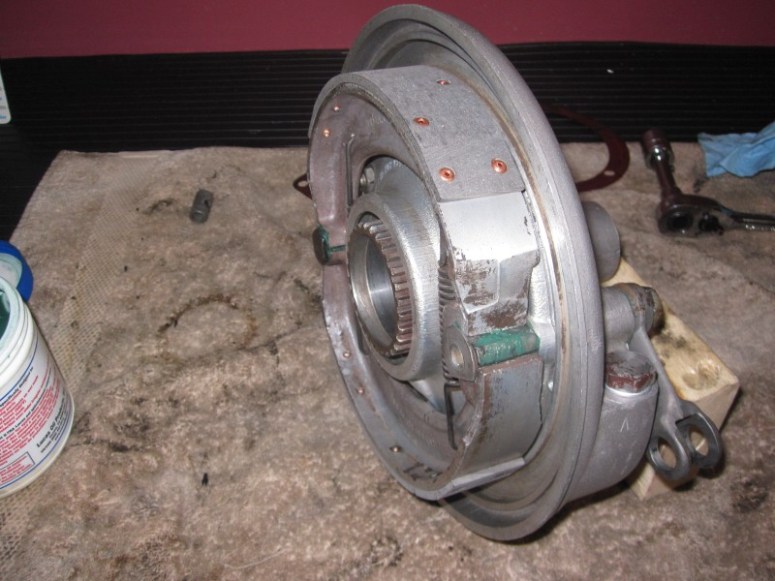
Here’s a couple of pics of the finished product. The hardware was cleaned up in the ultrasonic cleaner and the housing was cleaned with a combination of mineral spirits, brake cleaner and some R & B.

The re-lined brakes were re-installed and all is well again, ready to rumble from the rear-end point of view anyways.
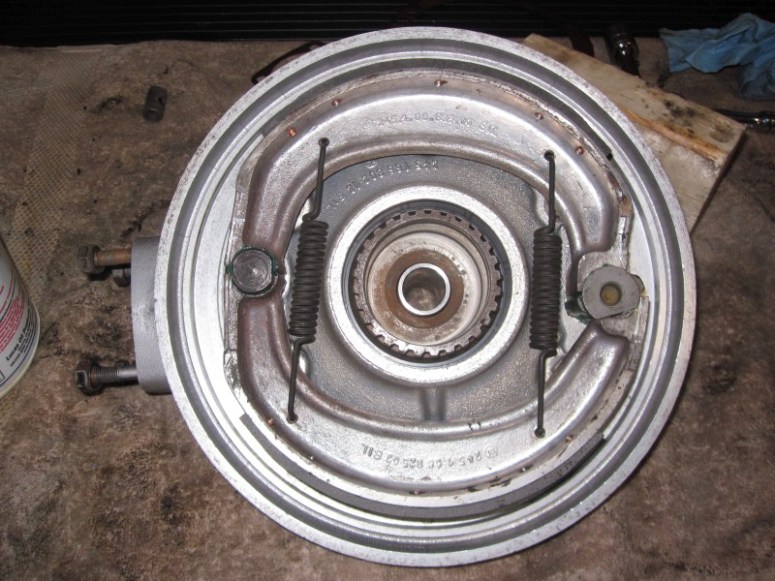
The green is a liberal application of bearing grease on the brake cam and the front pivot.
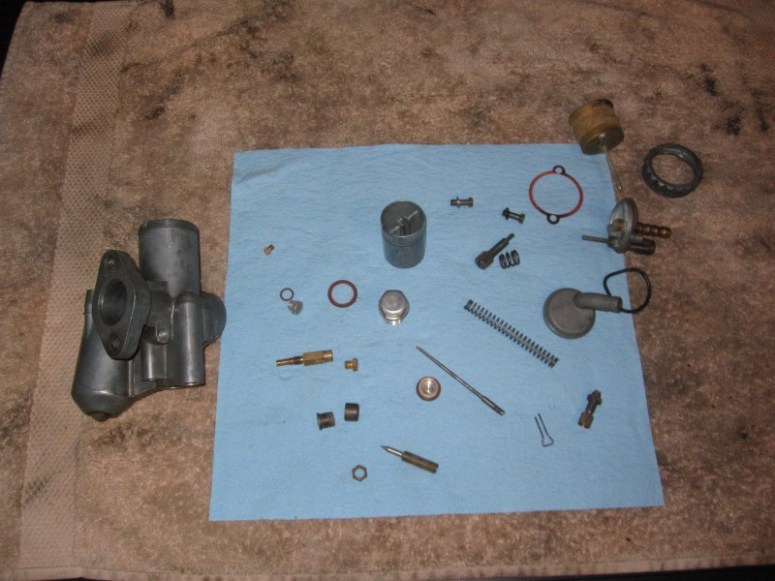
Next was time to take a carb apart and clean it out. Lots of pictures again come in handy to remember how things go when times comes to put things back together again.
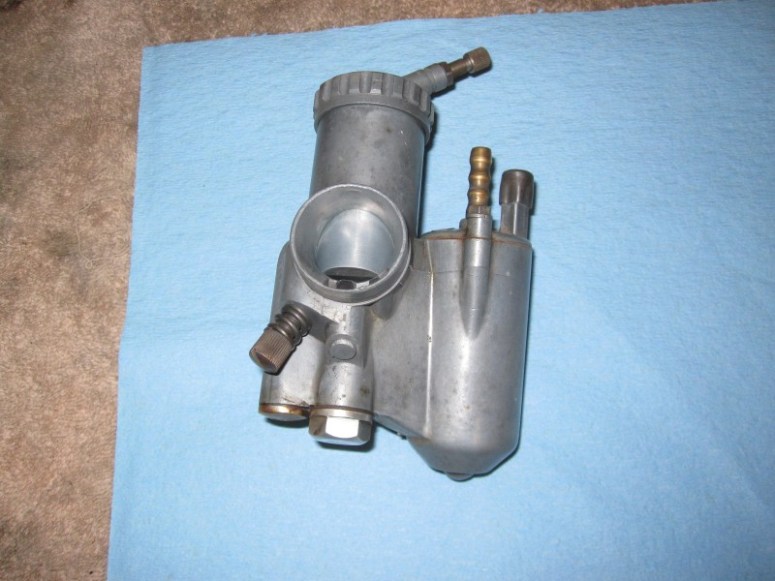
There are a lot of itty bitty parts in here. They weren’t too dirty, but did have some gasoline varnish on some of them.
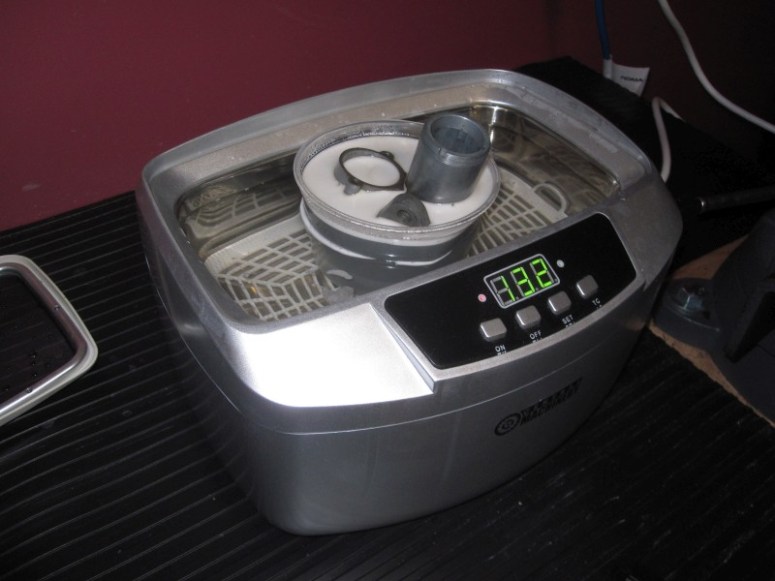
Nothing a little bath in the ultrasonic cleaner won’t fix…
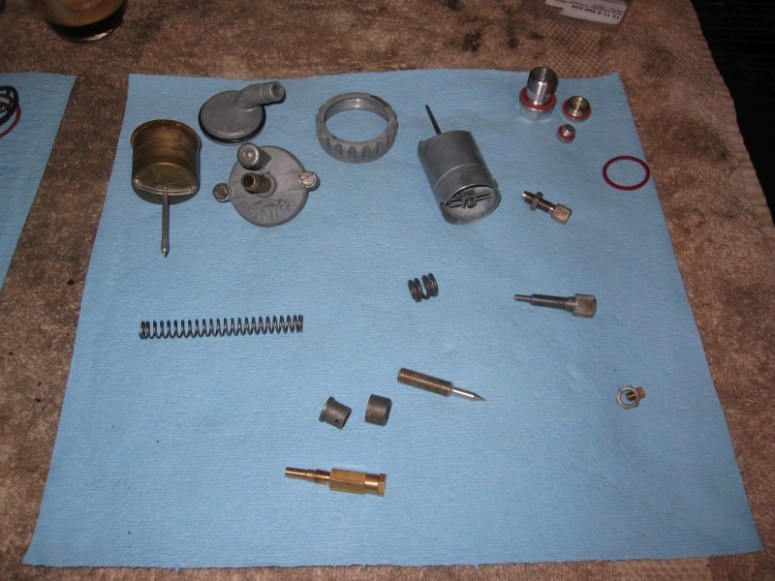
Now everything looks shiny and new again.
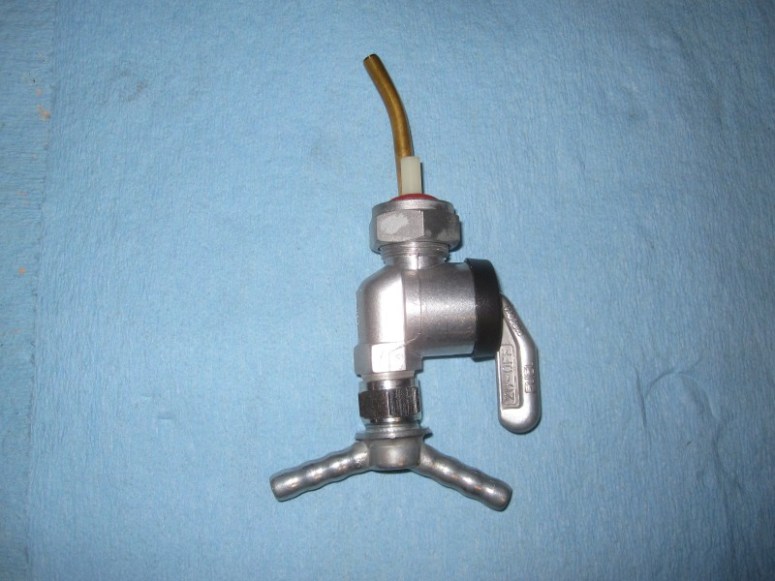
Next came time for the petcock
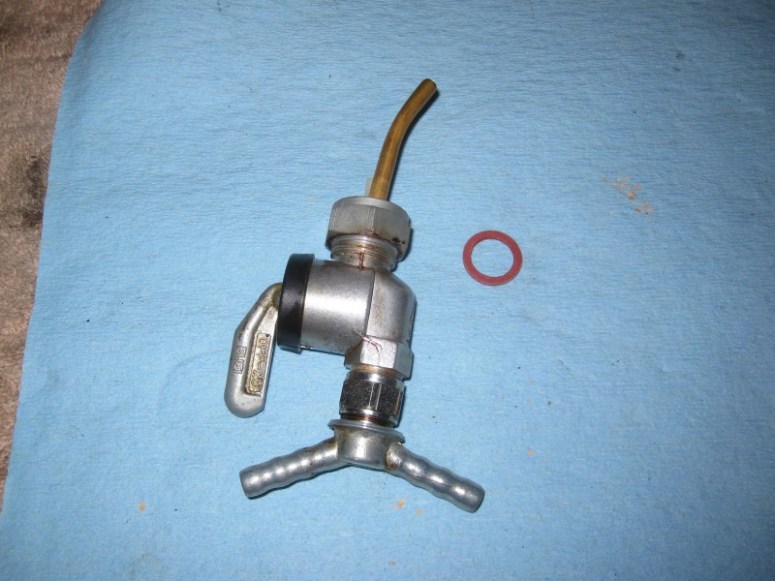
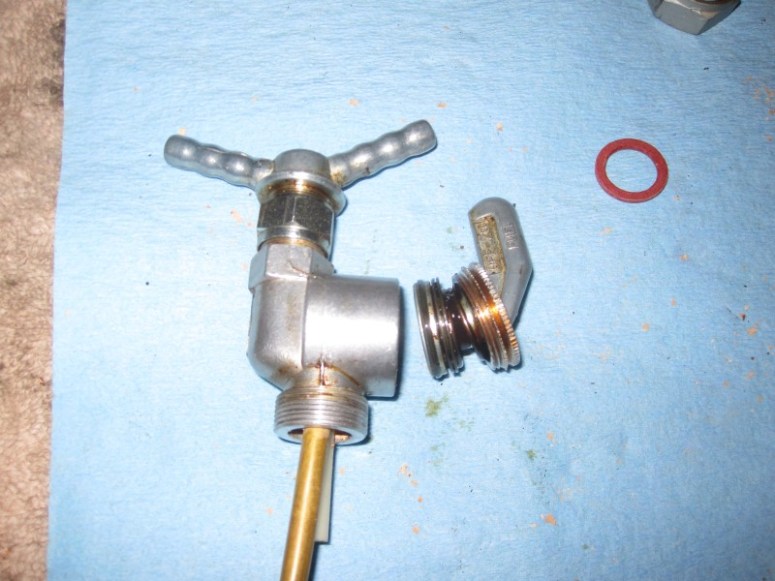
Kind of grungy in there.
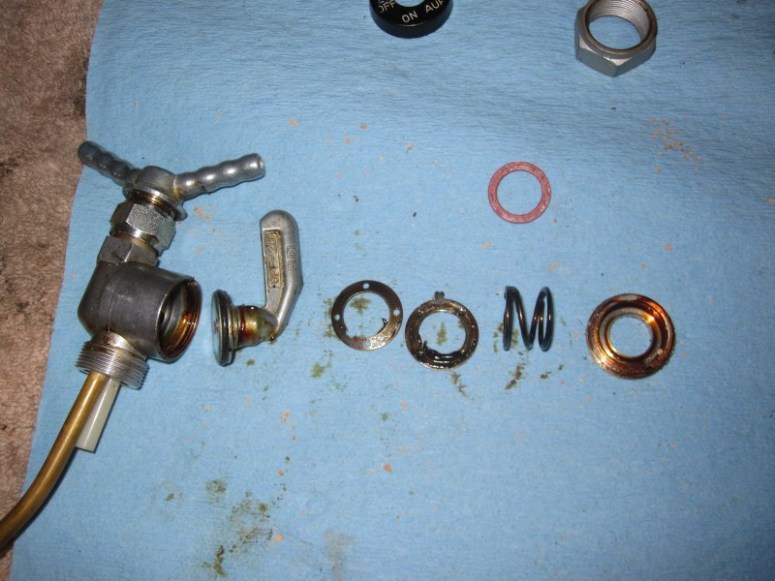
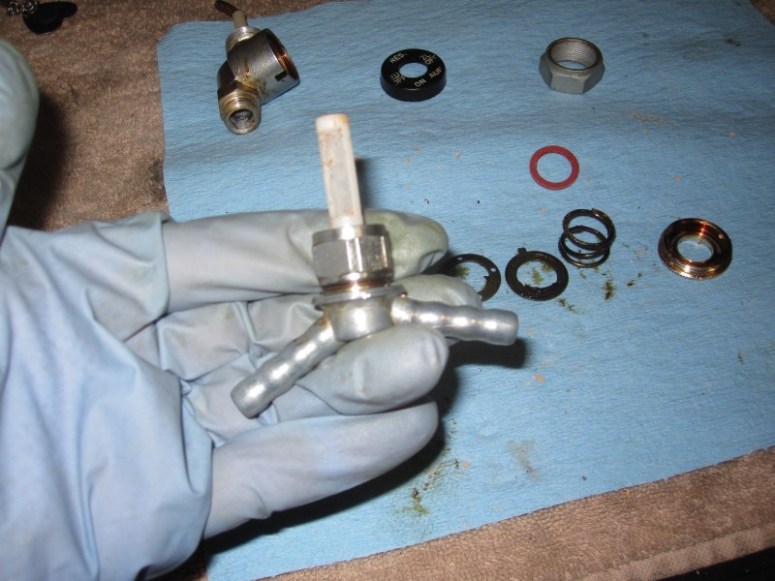
After a good bath in the ultrasonic cleaner followed by new gaskets and filter, good as new.