Section 1: Intro and Prep
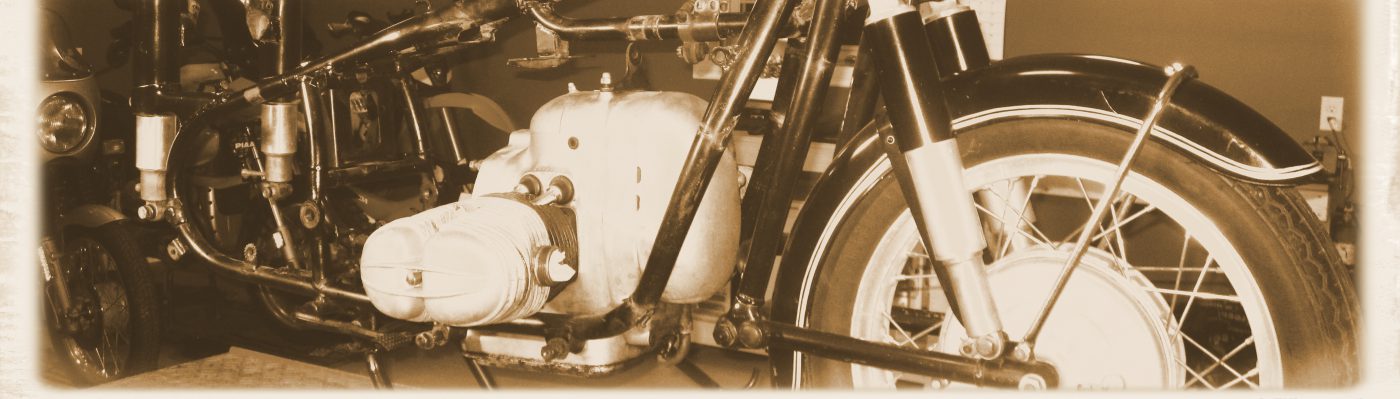
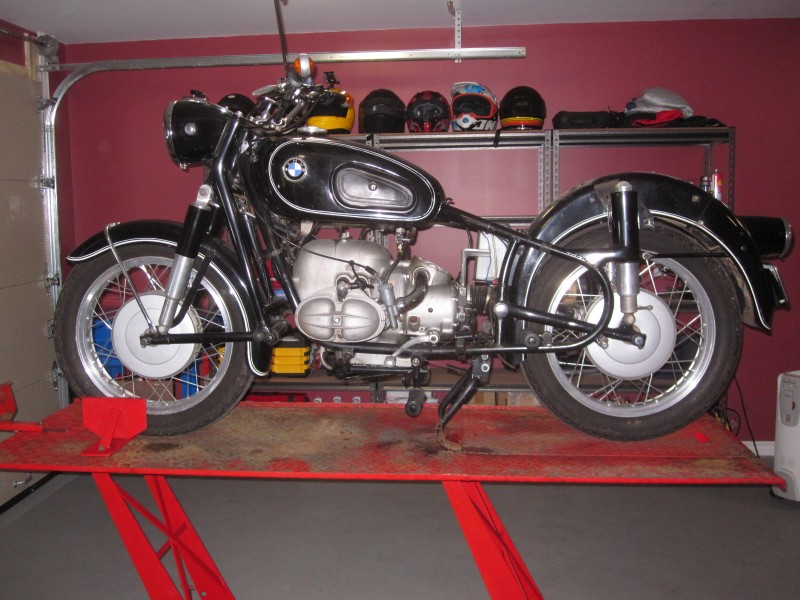
This is the bike responsible for the inception of R&D Vintage Airheads.
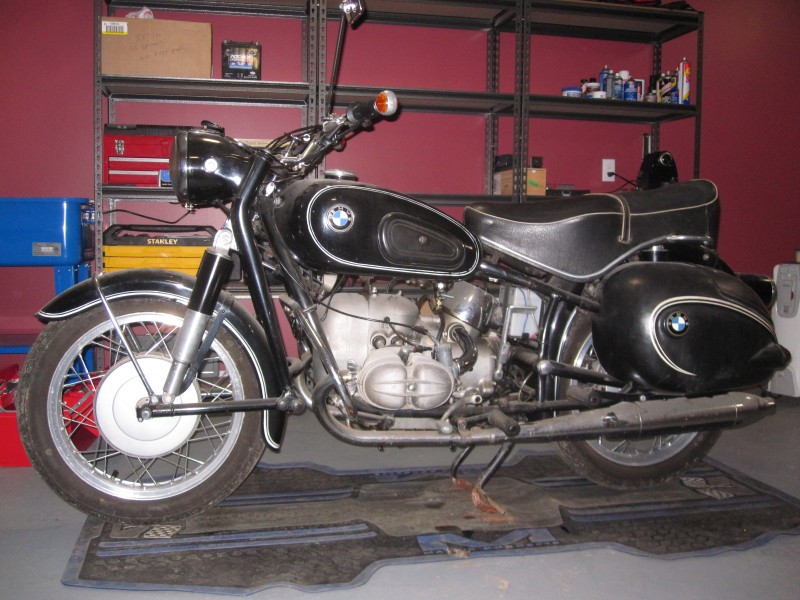
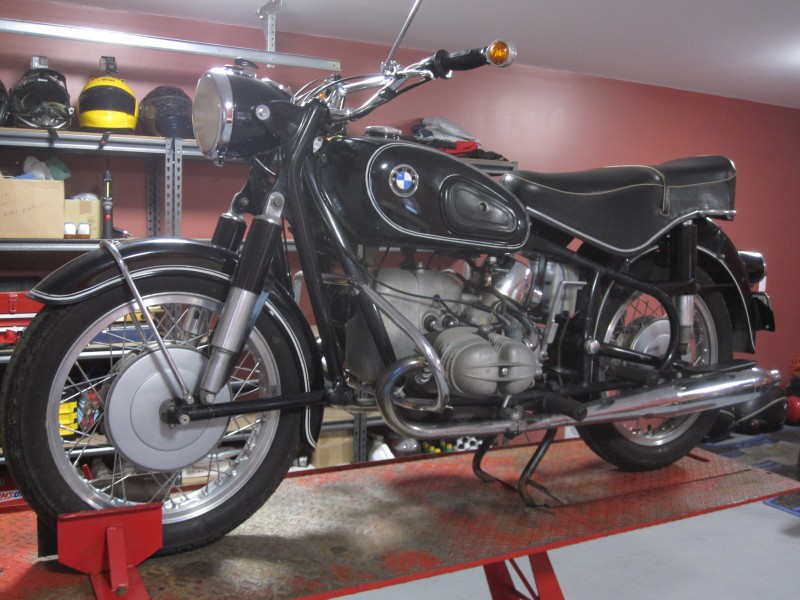
The story goes like this; Dave, the founder of R&D Vintage Airheads had this bike tucked away at the back of his garage. It was his father’s, who owned it since 1964. After his father passed away it received some much needed attention from our Guru, Paul, who replaced a cracked piston among other things. Unfortunately it had not been started in the past 5 years or so and was starting to show signs of disuse. About 2 years ago, Dave was over and saw my R50/5 work in progress. Some gears turned in his head and he figured I’d be an acceptable candidate to throw some love it’s way. The bike has 50 000 miles on the odometer and the slingers have never been done.
After some discussions I agreed to give it a go and one thing led to another culminating in the building of a backyard workshop that would become the World Headquarters for R&D Vintage Airheads Inc. It’s a sprawling 20 x 24 foot complex but it has electricity and heat (and a small mini-fridge courtesy of Dave’s basement). The essentials are in place, so lets get started.
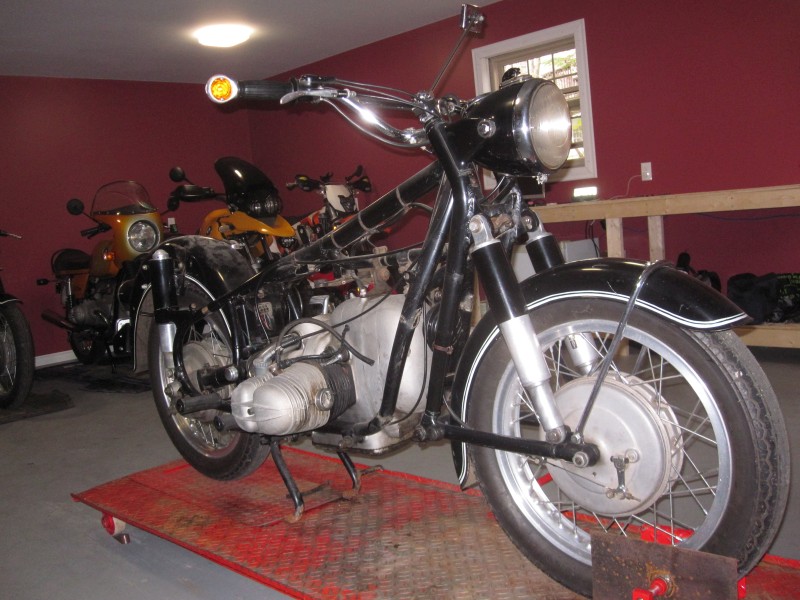
After some basic changing of fluids putting air in tires we got the bike started without many issues. You can see footage of the first time we got it started HERE. The idea was to ride it around a little bit to see what else it might need other than the slinger service. No key for the tank compartment, leaky petcock and leaky carbs were fairly immediately apparent, but otherwise things seemed pretty good. After a 15 mile ride or so, this was also apparent

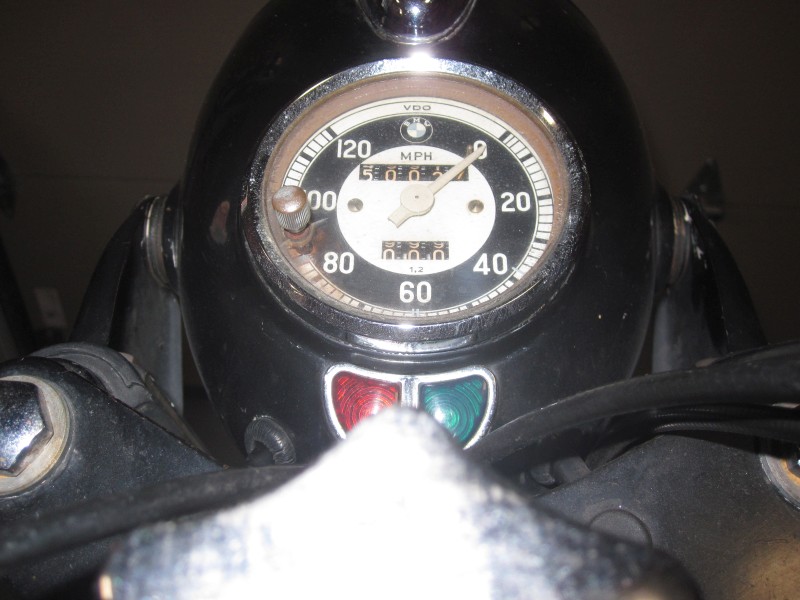
Some oil leaking from the final drive, but not out of the drain. No, it coated the brakes instead. Final drive seals added to the “list”. Another thing that became apparent is that while the speedometer is working, the odometer isn’t. Dave thinks the 50 000 mile reading is probably pretty close to reality, but can’t be sure.
After a few rides the motor oil was drained (looked pretty good) as was the transmission oil, which also appeared pretty good. Uh oh, what’s this on the magnetic drain plug ?
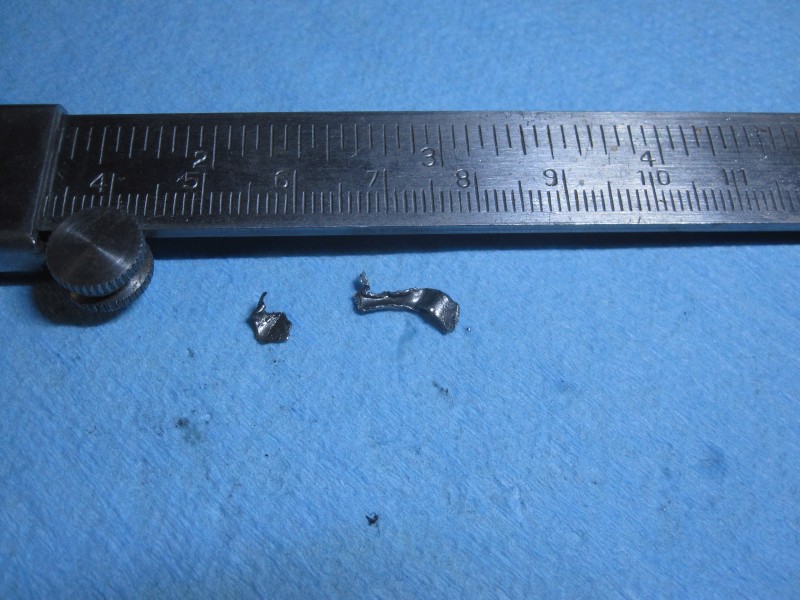
No, not the ruler, but metallic fragments that appear to be part of a bearing cage. Looks like a transmission rebuild is also in the near future.
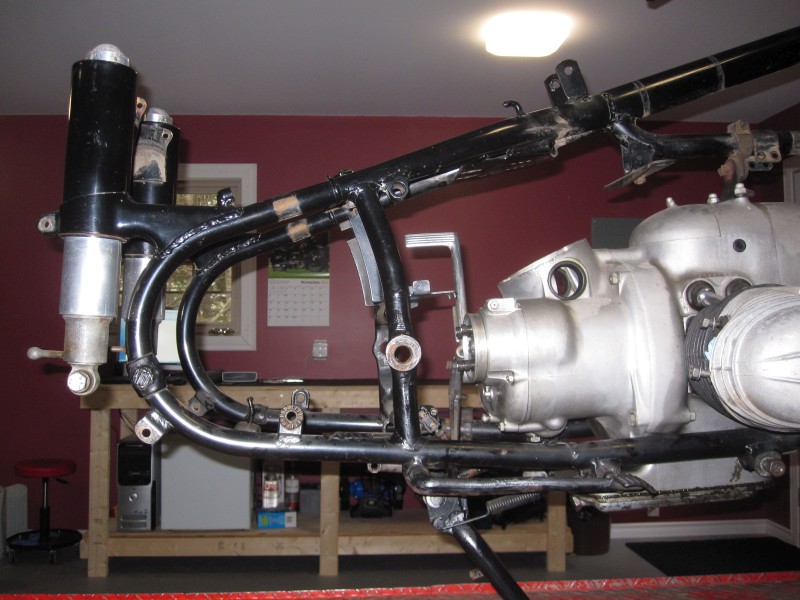
First steps are to take things apart to see what else needs replacing. All cables, wires, most rubber bits will need to be replaced, but the philosophy with this bike is to try to keep it original as much as possible. The original paint, blemishes and all, will be preserved, as “it’s only original once”. The exception to this is a few areas on the lower frame which are rusted, as is the centerstand, which was corroded from sitting in the same spot on a cement floor during our Canadian Winters. These will need cleaning up and application of touch-up paint.


The harness casing was very brittle and was broken in several places. New wiring should help in making sure the bike will be a dependable steed once again !
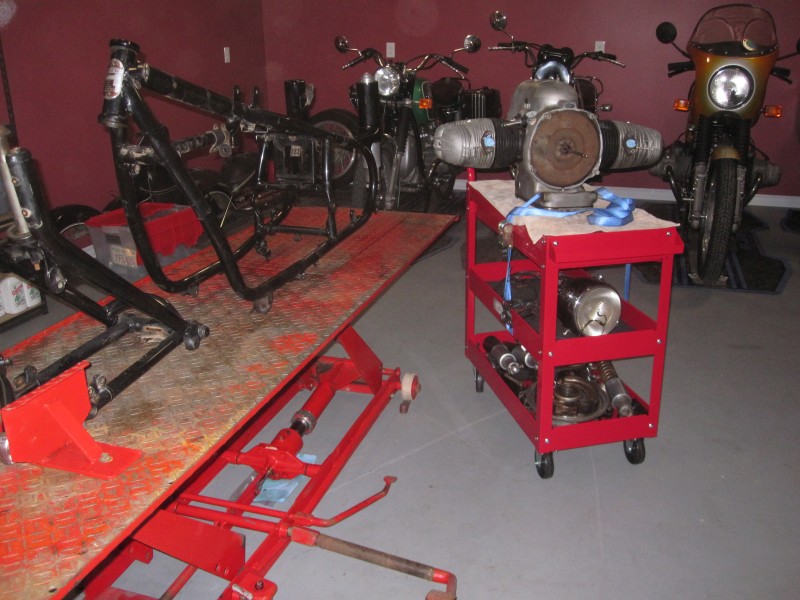
More stripping of parts, most of which are in decent shape.

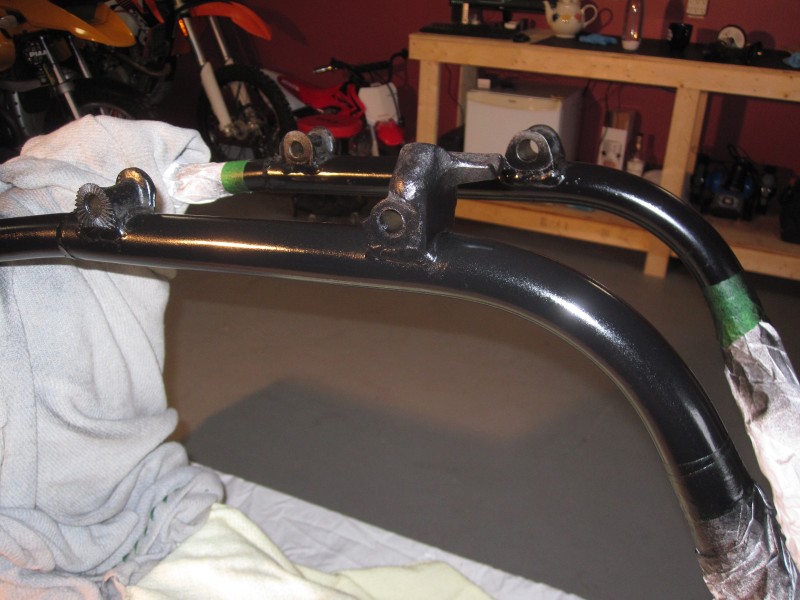
Here is the centerstand, with the rust ground off and sanded, ready for paint. I decided to take the Earles fork apart to inspect and regrease the bearings. There were a lot of hard congealed bits in the grease. After a good cleaning you can see the race shows quite a bit of wear, however I can’t feel the notches with my fingertips and the bearing spins freely. I repacked the bearing with grease and buttoned it up. With the new grease in place the Earles fork pivots very smoothly throughout its arc.
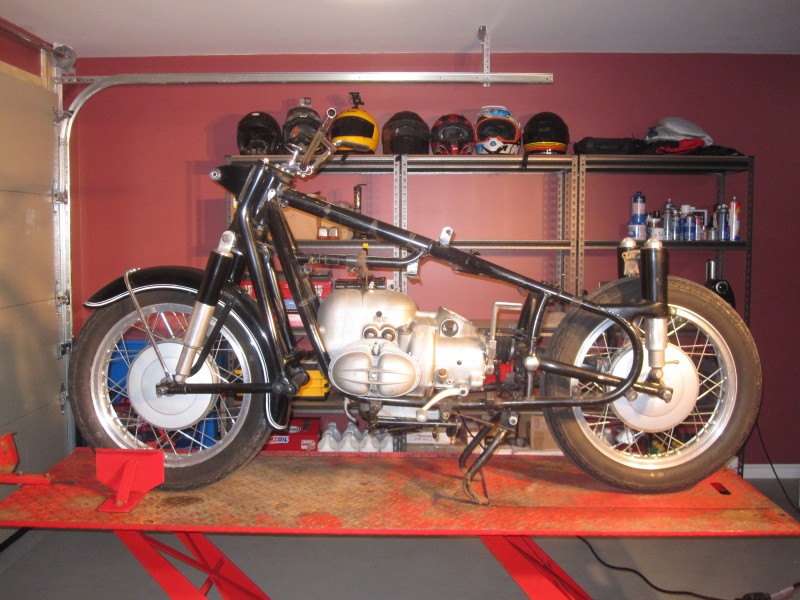
Finally the motor got pulled which was interesting as the clutch pushrod would not disengage from the clutch plate. To separate the motor from the transmission I had to pivot it way forward and basically pull the transmission in a straight line up through the frame tubes. The pushrod spun freely, but would jut not pull out of there.
I decided to pull the clutch from the motor with the pushrod still in place to see where it was binding. The clutch pieces were pulled off without incident
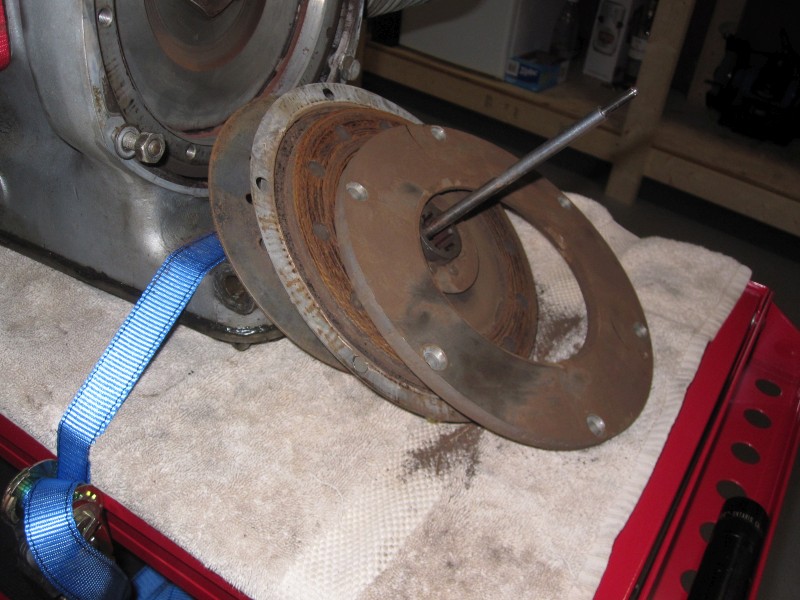
again, no way was that clutch pushrod coming loose. Mr. clutchplate, meet Mr. Press…
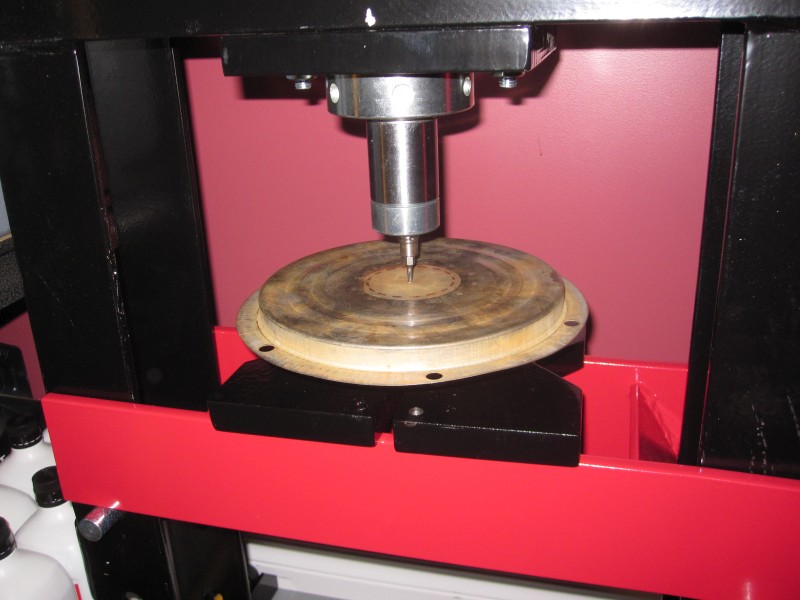
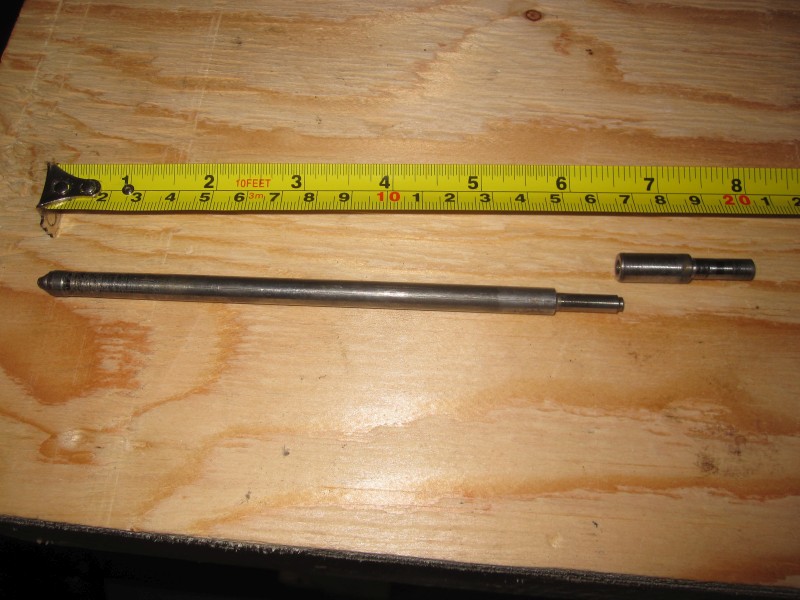
There we go ! Turns out the clutch pushrod was broken in two pieces, and it is quite worn near where it was stuck on the pressure plate.
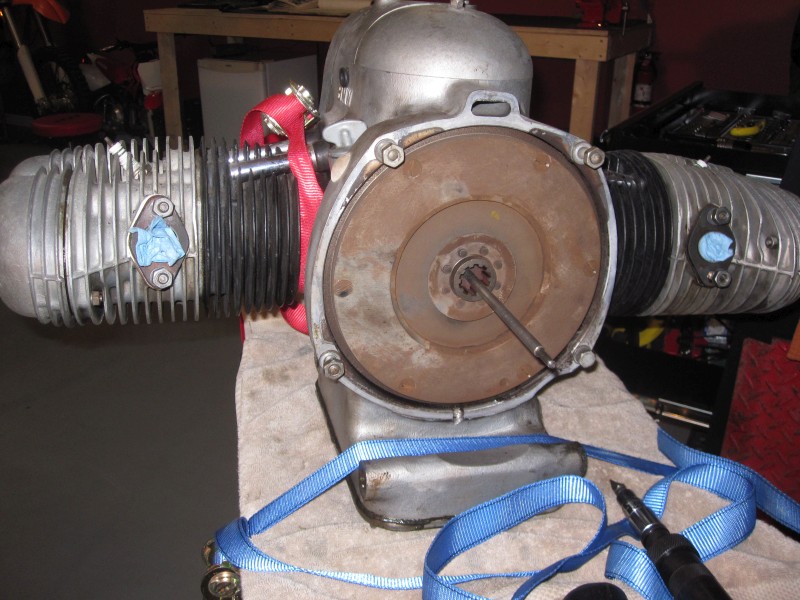
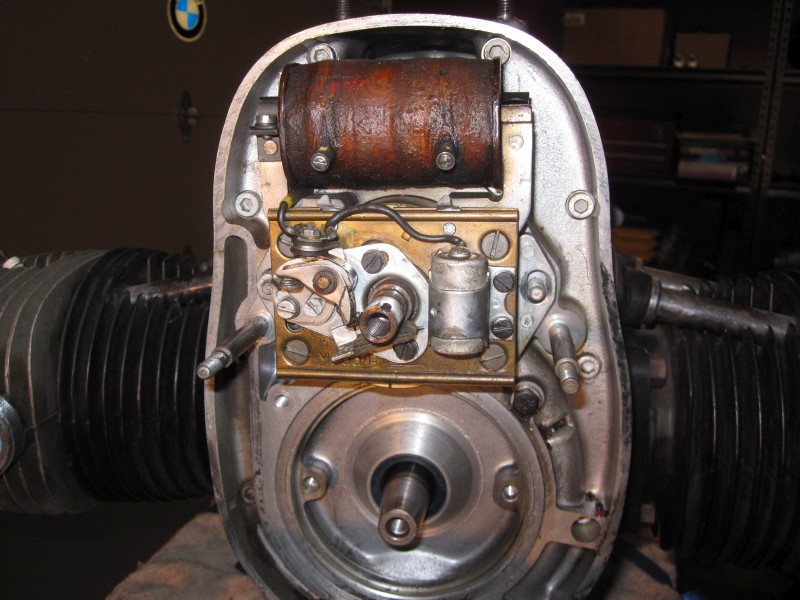
Now it’s time to start taking the engine apart. A blocking device was inserted to prevent the flywheel from turning
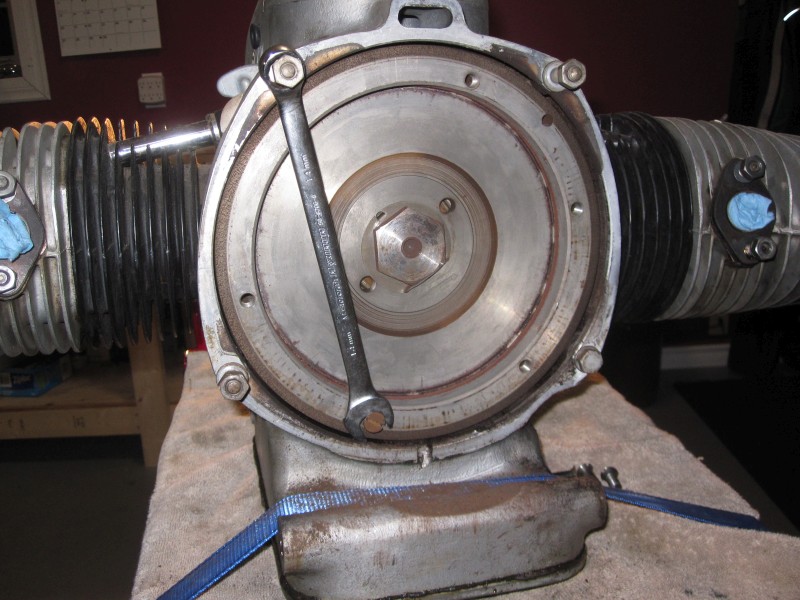
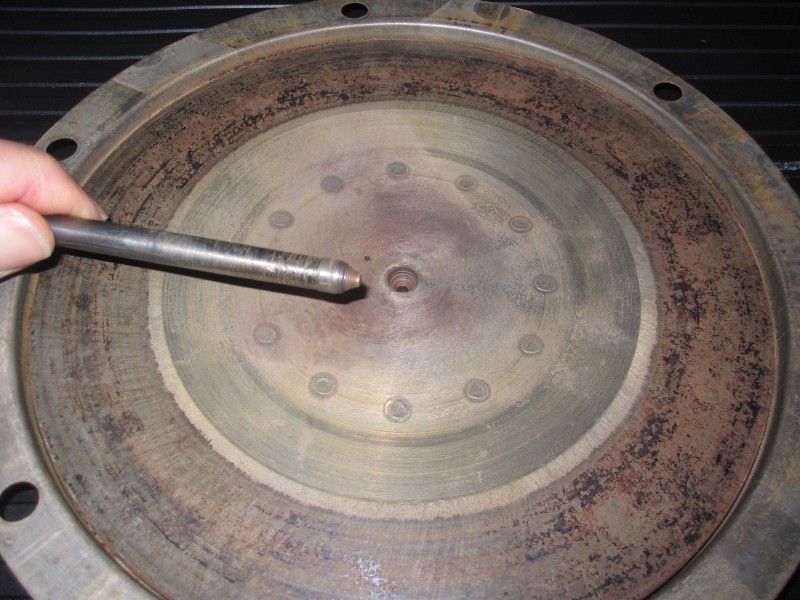
Then I could attack the front of the engine. The special rotor removal “pulling bolt” is essential for this, and despite having it, it required a bit more torque than what I thought it should. I was getting nervous about snapping that hardened bolt in the rotor, but then I heard and felt the satisfying “POP!” and the rotor was removed.
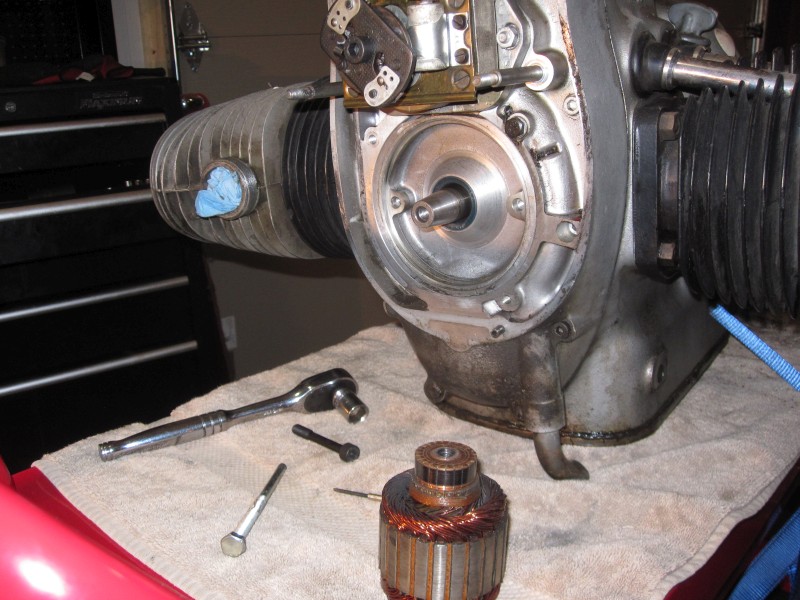
That’s the special silver hardened puller bolt in the foreground, next to the rotor. Same idea for the magneto rotor sitting on the camshaft, uses the same tool to take it off.
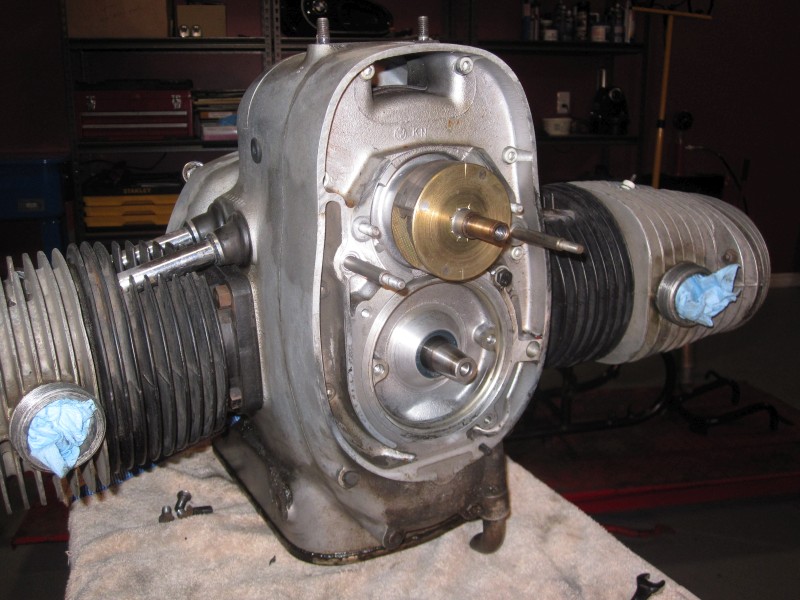
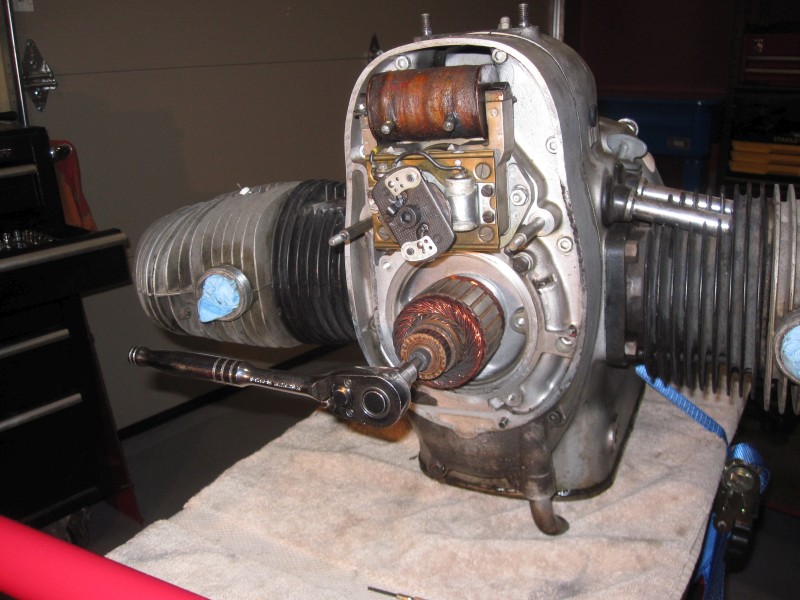
Now the timing cover is ready to come off. 12 bolts hold this puppy in place. Once removed, a few gentle taps from a rubber mallet and it was off.
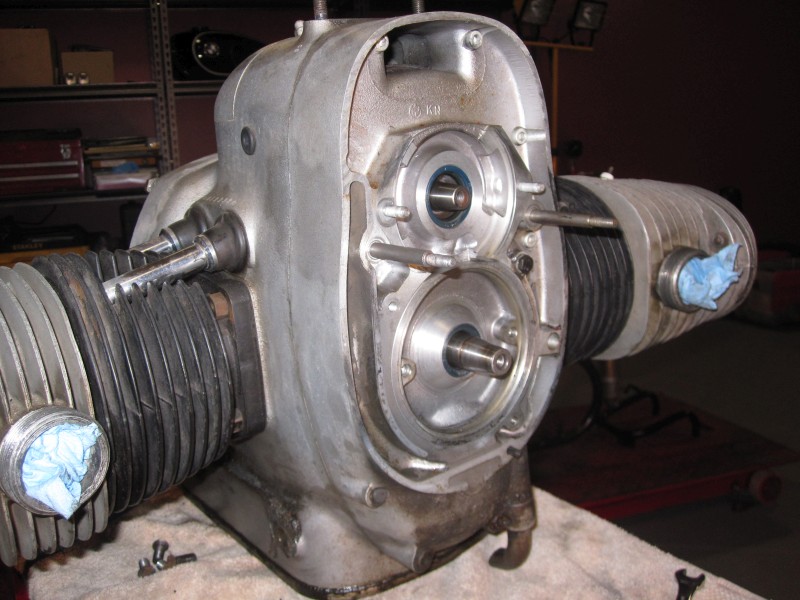
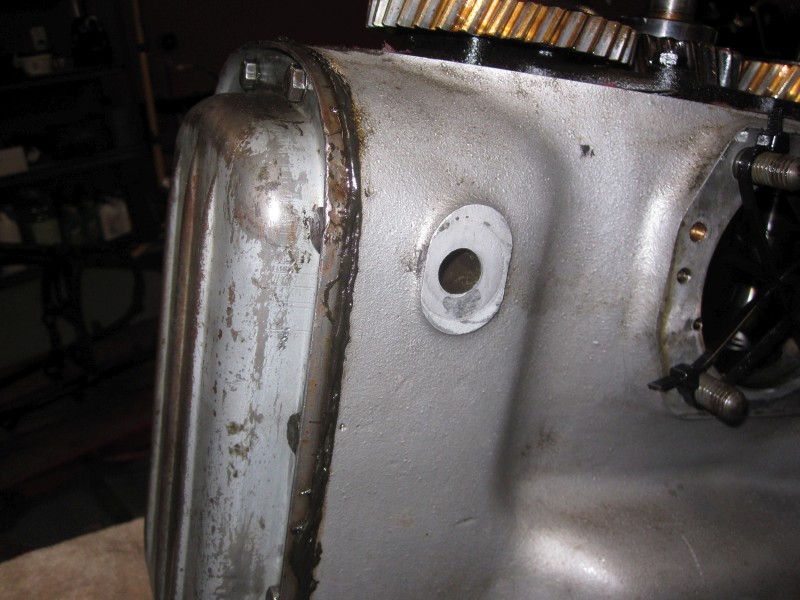
Next, off come the head, cylinder and piston. There appears to be a bit of scoring on the cylinder wall. I’ll take the time later to take the valves apart, measure out the cylinder and just make sure everything is good. The bike wasn’t smoking at all, so I’m not too inclined to start re-ringing the pistons just for fun if everything is measuring out OK.

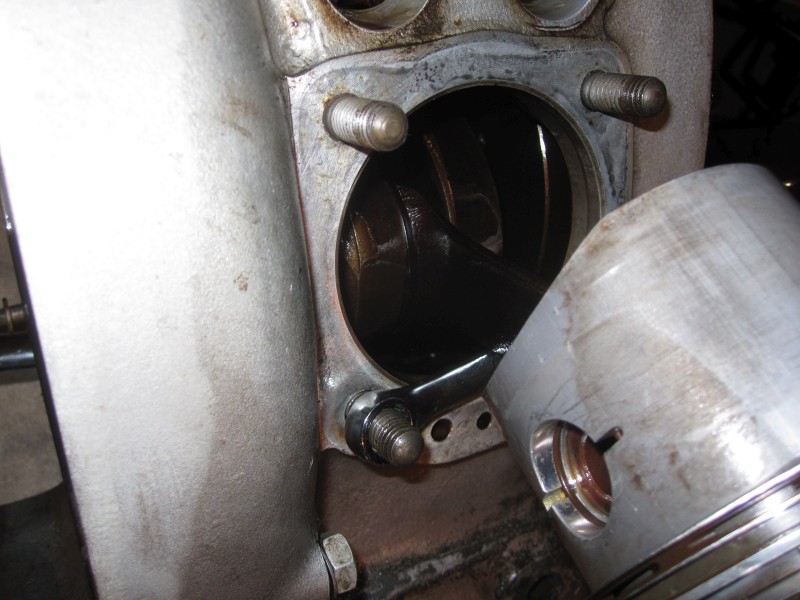
A couple of well-placed zip-ties and we’ll be sure that the rods don’t make friends with that soft metal where the cylinder meets the case.
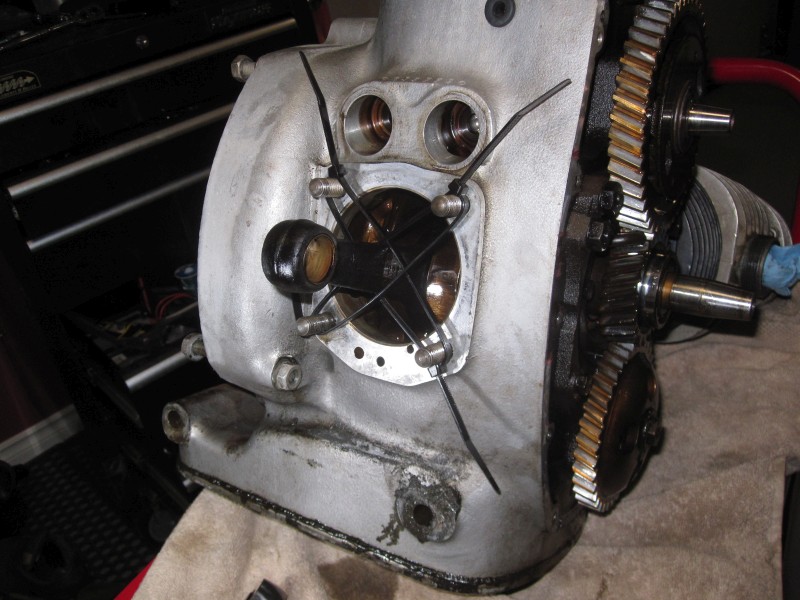
With the right side done, time to rinse and repeat for the left side
No big surprises on the left side, other than the left sided piston appears to show a LOT more use than the one on the right, which was presumably the one which was replaced.
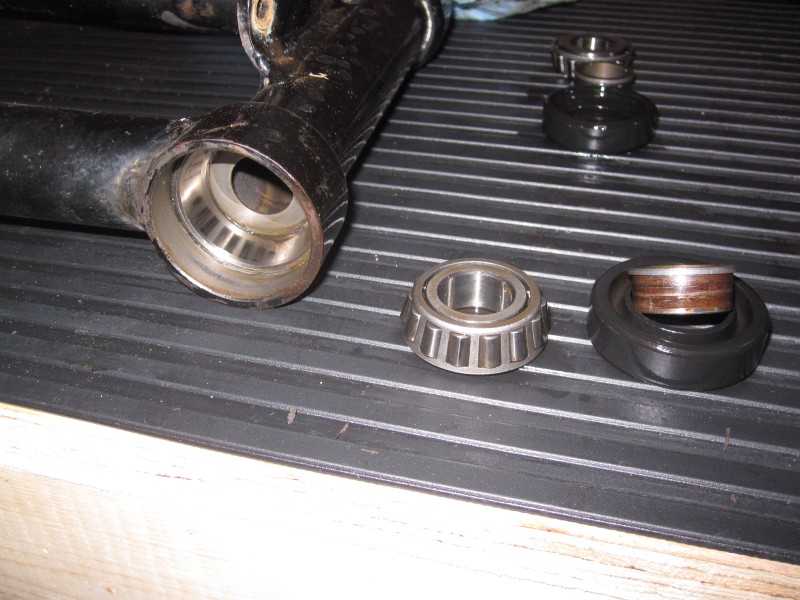
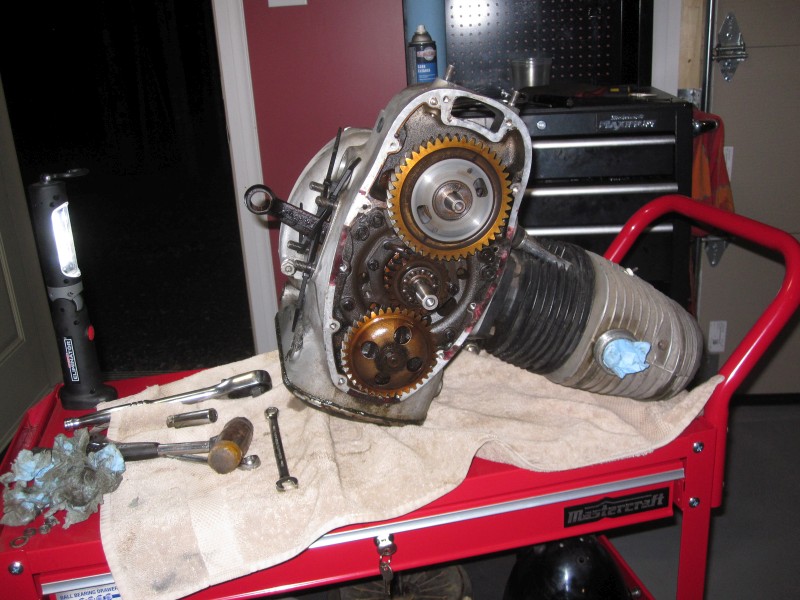
Here we are with the short block. To get to the slingers I will need some specialized tools, which are on order from Cycleworks. Will need to put this on hold for now
I decided to to a few touch-ups to the frame. There was some visible rust along the bottom frame rails and while sanding it off, I discovered it was going a bit deeper than what it first appeared to. I had to sand off a fair bit on the bottom frame rail, mainly on the left side, so I decided to “touch up” that whole lower section.
So that is the summary as of November 20th 2016. More to come soon !
Nov 23 2016
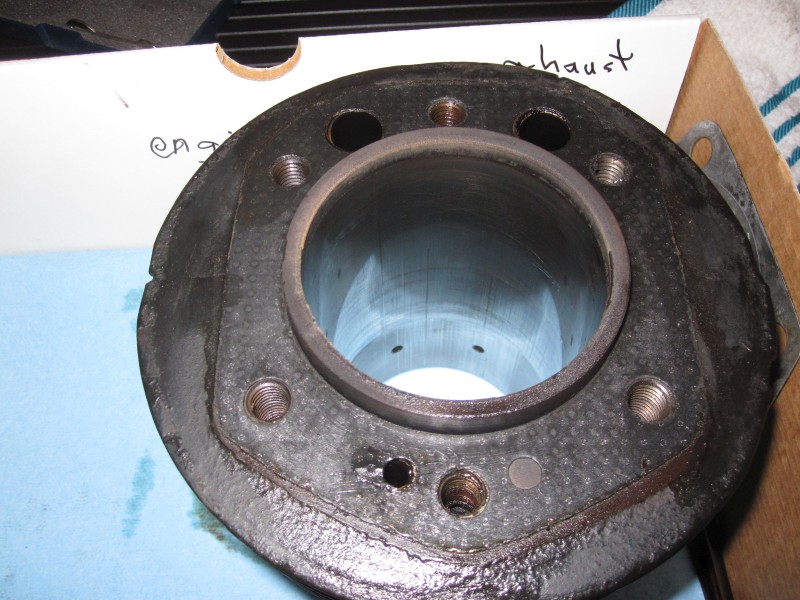
Had a couple of hours on my hands so I decided to see if I could clean up the oil pan area. Judging by the silicone gasket material I figured there had to have been some leaking from somewhere in this vicinity in the past.
I started by removing the 12 bolts that hold the pan in place, then chipped away at the hardened gasket material with a screwdriver. Once the outer “layer” was removed, I was able to take off the oil pan. I thought those cork gaskets were supposed to go on dry !
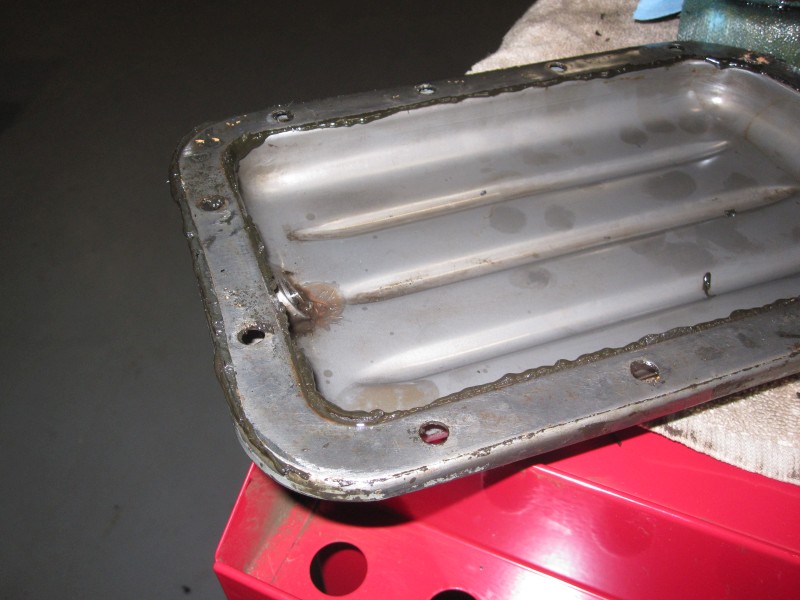
Things looked fairly clean in there. The cork gasket came out in chunks and a lot of it was firmly adherent to the case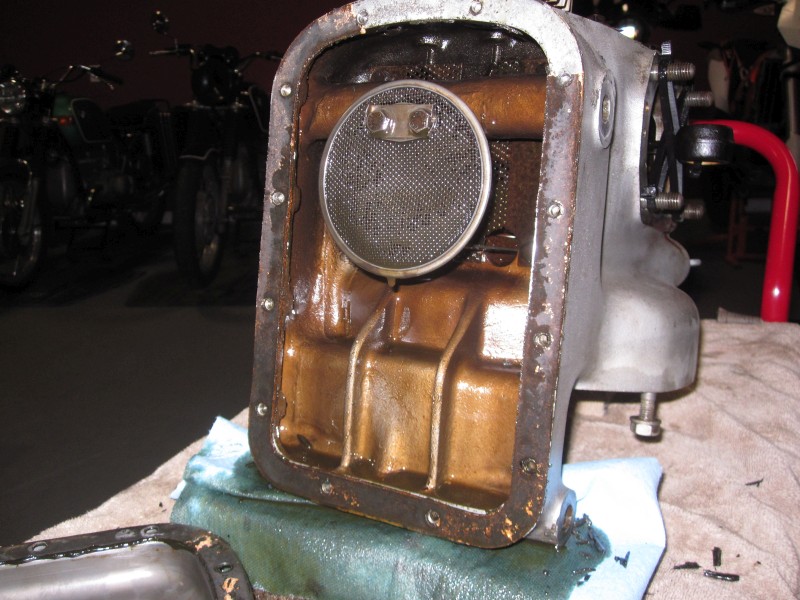
But nothing a bunch of gasket remover and elbow grease couldn’t get cleaned up. I checked the clean pan up against the case and there is only a very slight wobble, so thing aren’t warped too badly. Probably will be oiltight once a new gasket goes on.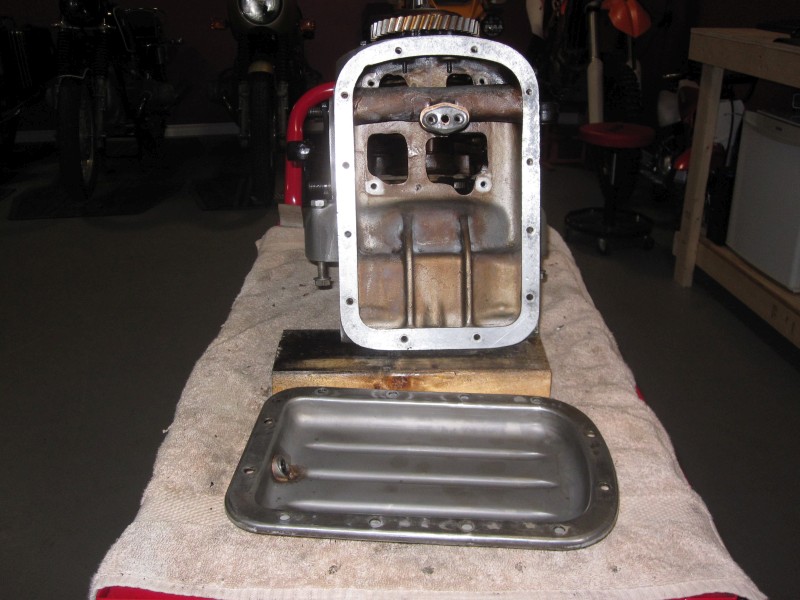
The block is starting to clean up nicely. Can’t wait to dive in !

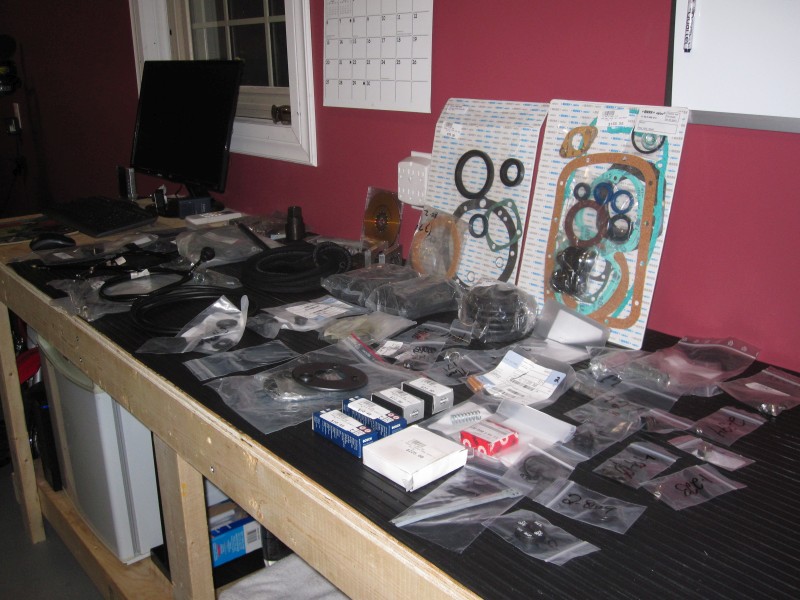
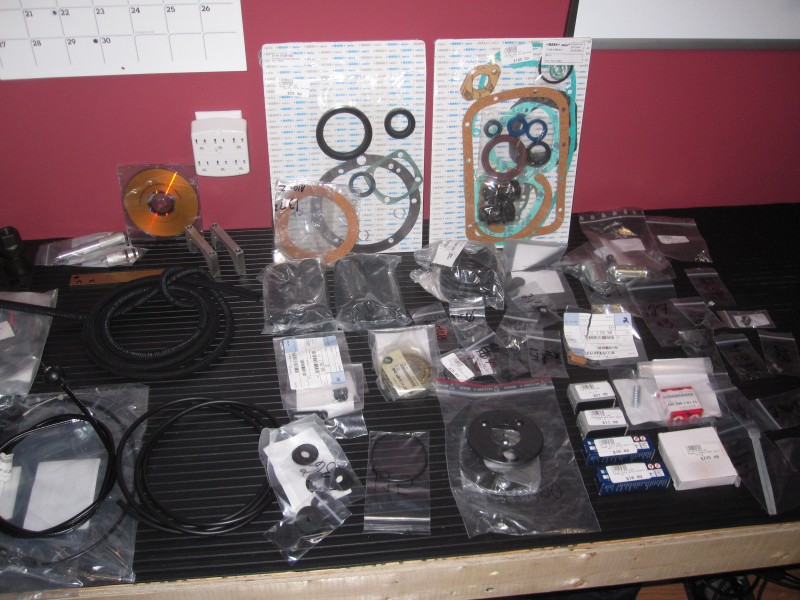
Tonight I received “Order #1” from Max BMW ! This should contain the bulk of what will be needed to refresh Black Beauty
… And here is a slinger, the $ 35 pieces which prompted this whole tear-down. I’m looking forward to getting the old ones out to have a good comparative look at them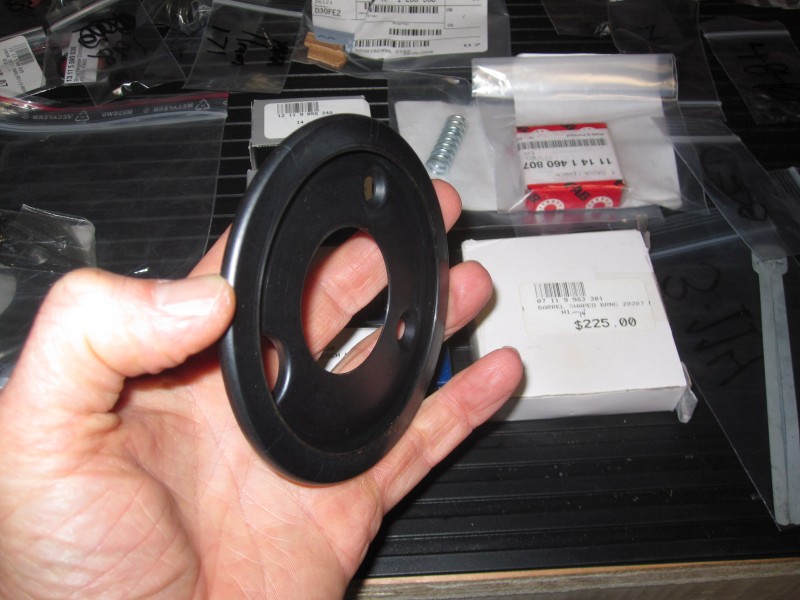
To assist with this task, here is the CycleWorks “Many-in-one” tool, along with the “Bottom End” DVD, which will be useful I’m sure…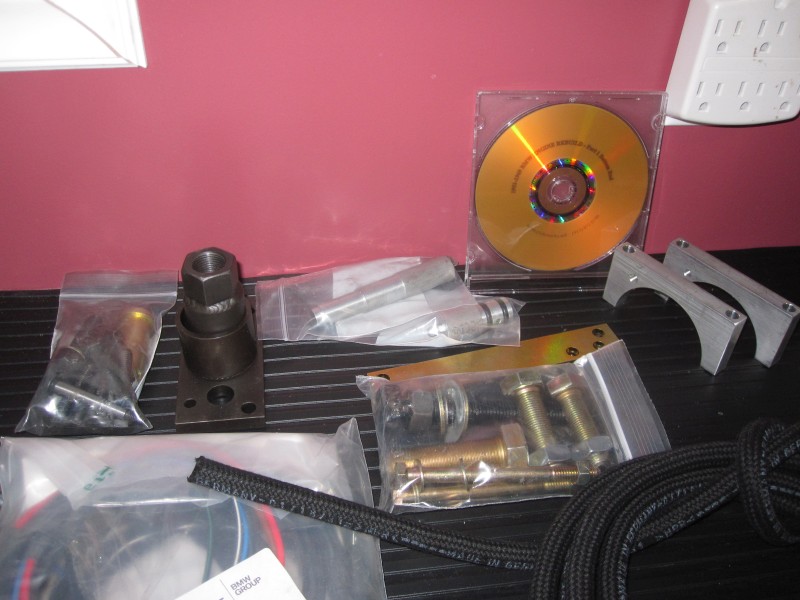
Oh, I had also ordered a Harbor Freight Ultrasonic parts cleaner which arrived today as well. Thought I’d give it a try on the timing cover bolts and the clutch bolts. Here’s a “before” pic of the timing cover bolts…

and the “after” pic. It’s quite impressive ! A few minutes in the machine with a diluted Pine Sol mixture and bada-bing, out they come nice and clean !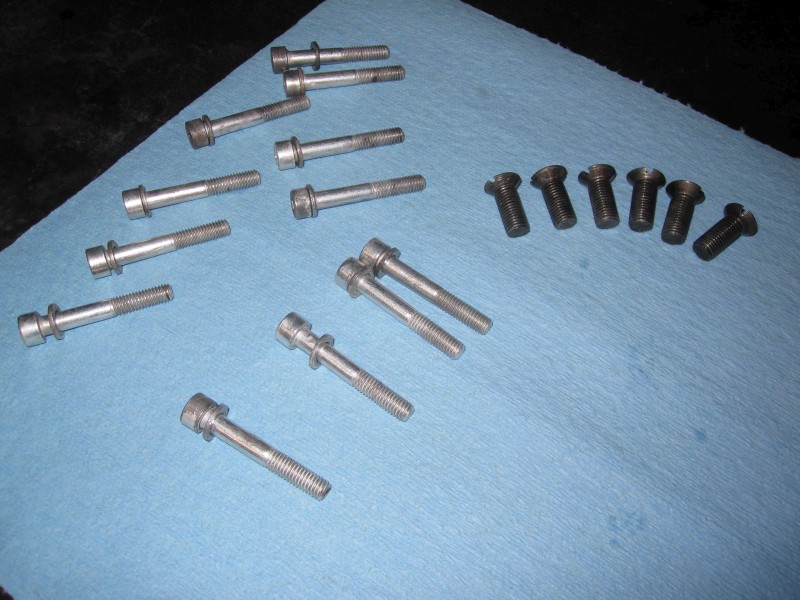
continue to Section 2 – Slinger servive
