OK, time for (hopefully) some more straightforward work. Let’s retorque the cylinder nuts and adjust the valves.
First step is to disconnect the negative lead from the battery. The reason for this is when you remove the alternator cover, if the battery is connected, then the cover will short out on the diode board while removing it, causing the diode board to fry.
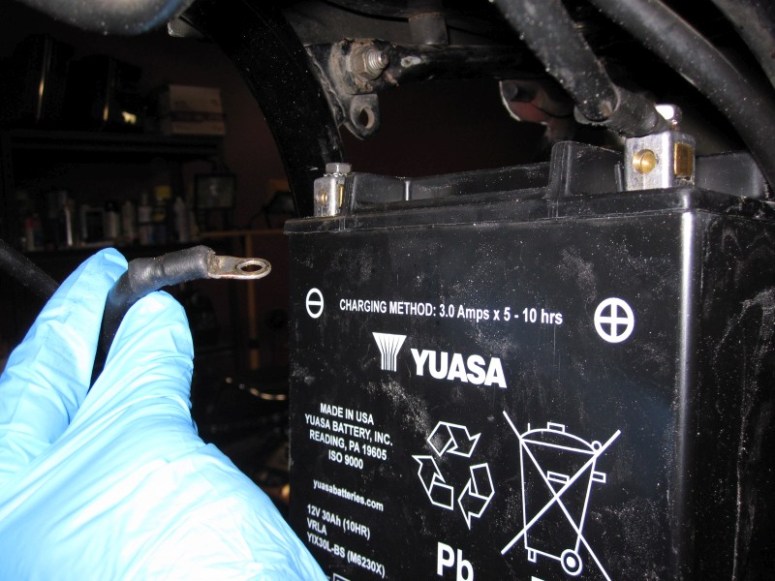
I always disconnect the negative lead off the battery rather than at the connection on the transmission at the vented bolt. Too much removing and tightening of this bolt risks stripping the treads in the transmission, as it’s just aluminium. Battery terminal side is safer.
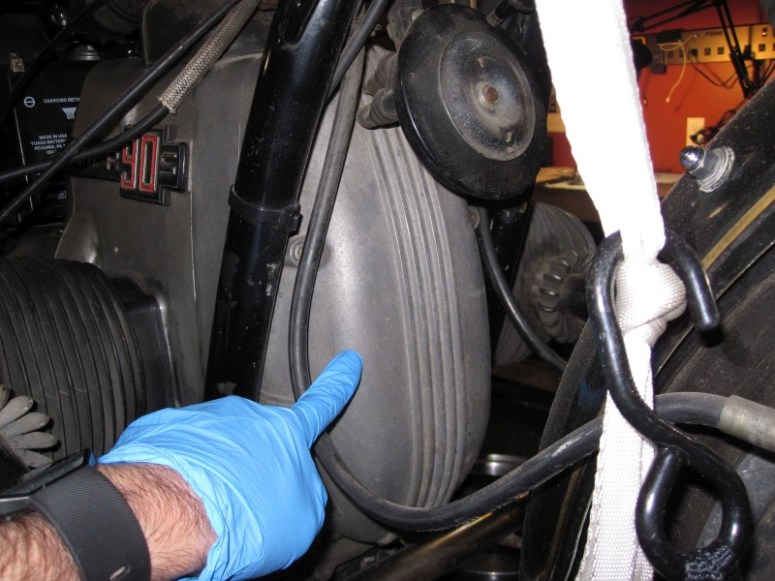
Next we remove the alternator cover. Just 3 allen bolts and it slides downwards pretty easily if you gently pull the horn forwards a bit.
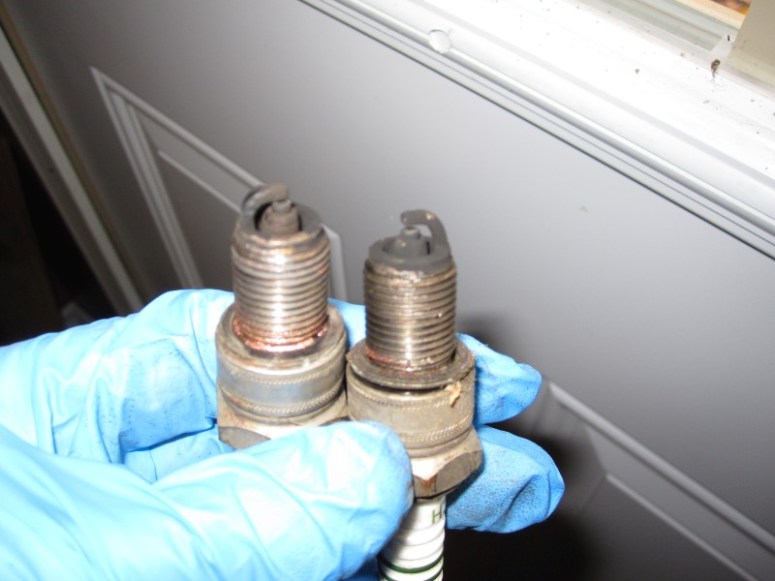
Next remove the plugs to make it easier to turn the motor over using an allen key at the crankshaft end. The plugs don’t look too bad as far as I can tell.

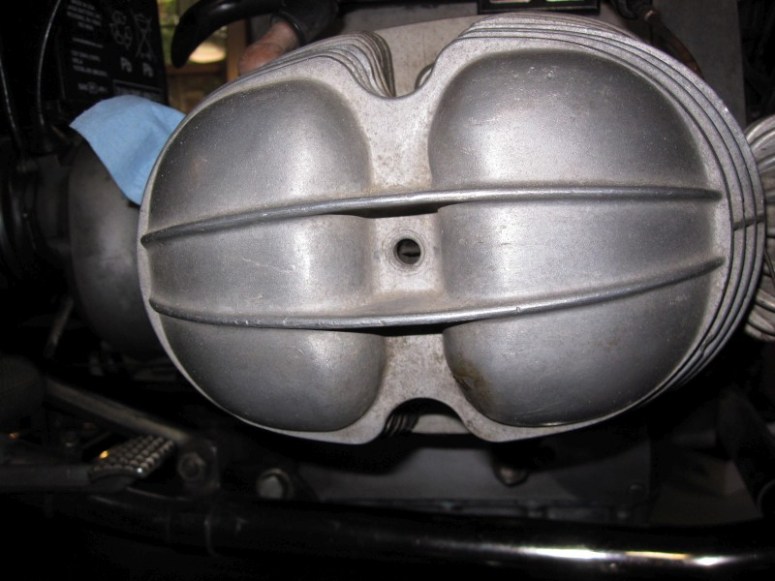
Next the valve covers come off. Oh my… There is no center stud, but rather it was replaced with a bolt, no washer. This doesn’t bode well…
Despite the bolt being inappropriate, it was still better than the other side. No stud, no bolt, just a hole…
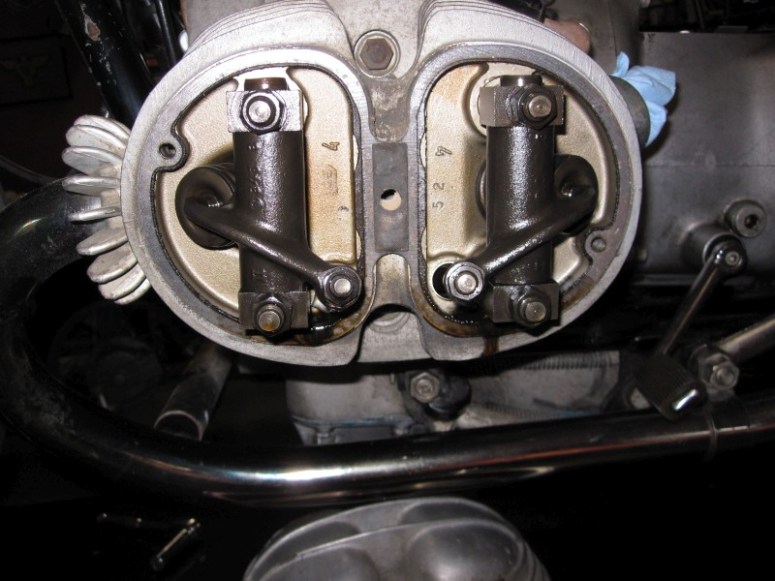
Removal of the valve covers revealed a baked-on gasket, but no other cringe-worthy issues. There was way-excessive end-play in one of the rockers though.
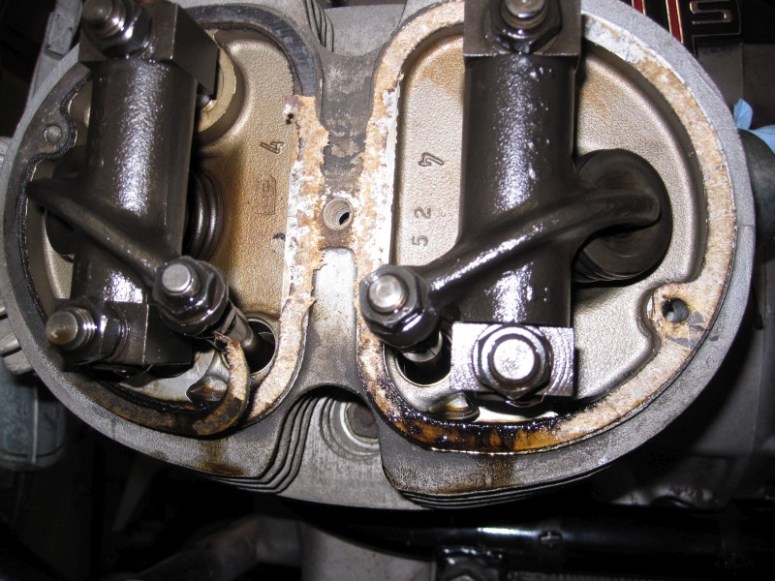
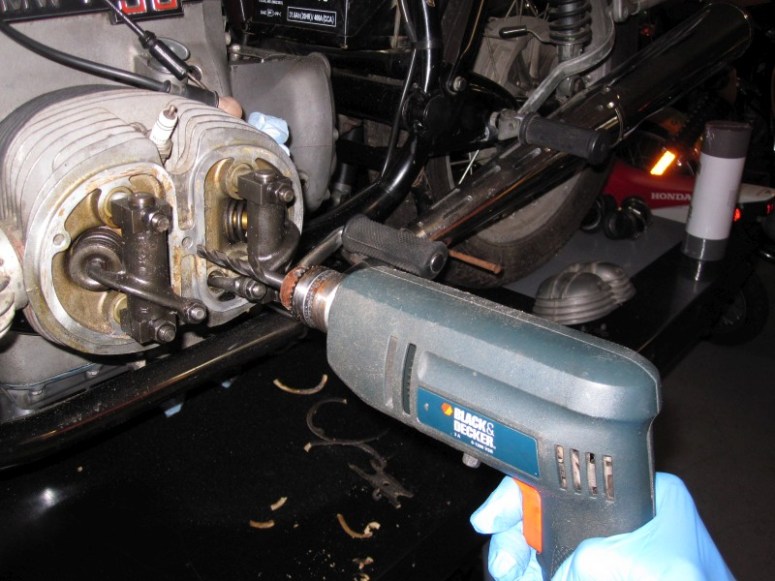
Took to the gaskets armed with a razor blade, then aerosol gasket remover, followed by a brass wire-wheel attached to a drill. I’ve never fought so much with a gasket before. I think it was glued on…
Both treads where the studs are supposed to be were stripped. The bolt that was used did not have the same tread pitch as a metric stud. Thankfully in my arsenal of spares I had some spare studs and was able to repair the treads in the heads
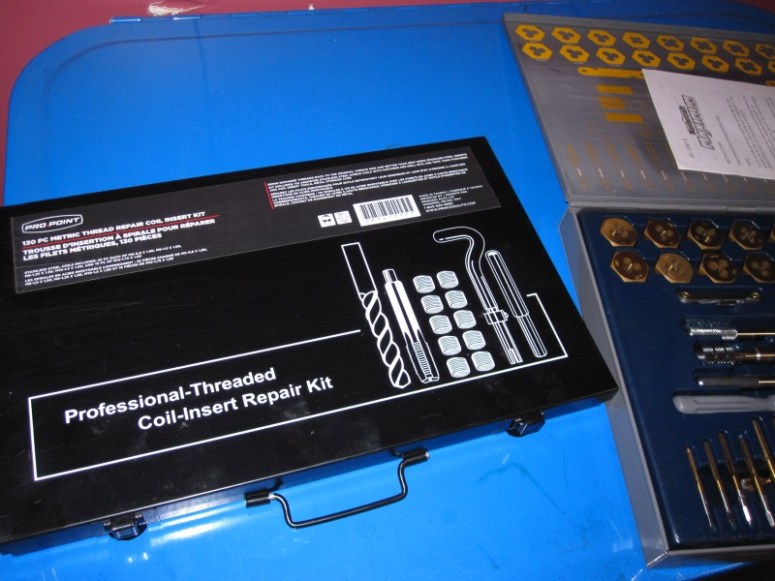
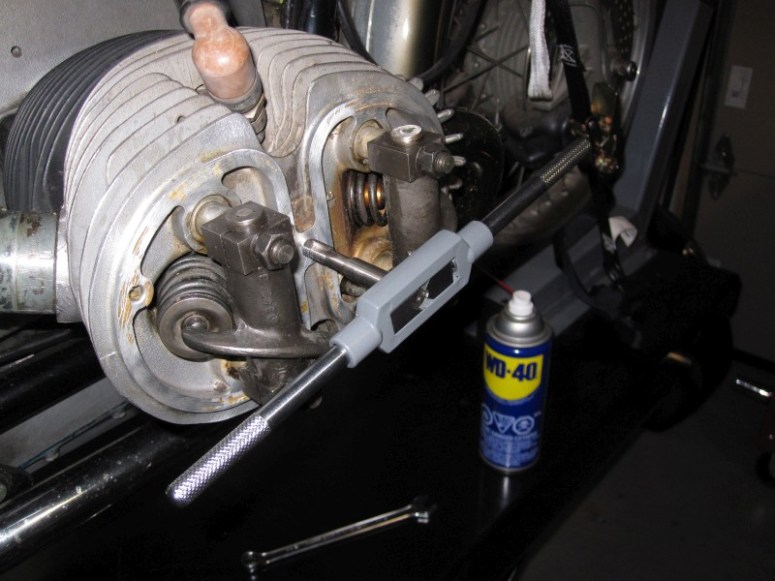
Step 1 – drill out the old treads

Step 2 – tap the holes, M8x1.25 tread

Step 3- insert coil
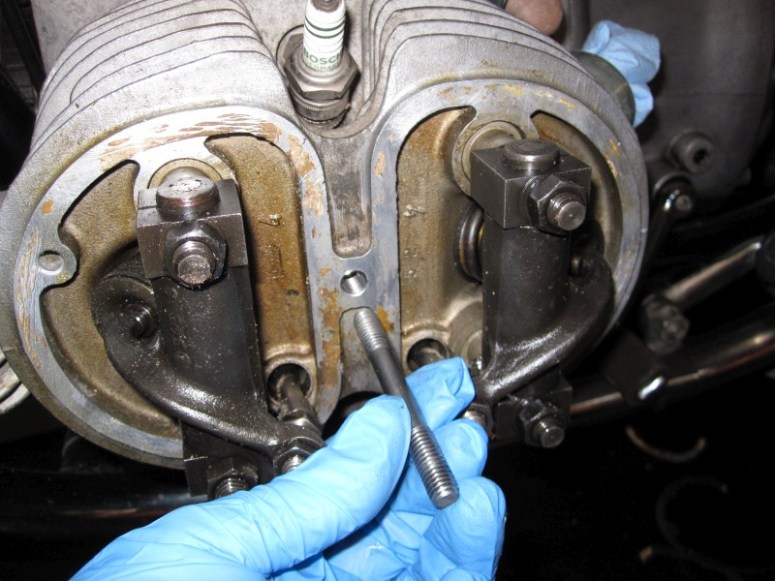
Step 4- insert stud. I also put some “permanent” locktite on the stud prior to screwing it in. There you go. Another “proper” fix.
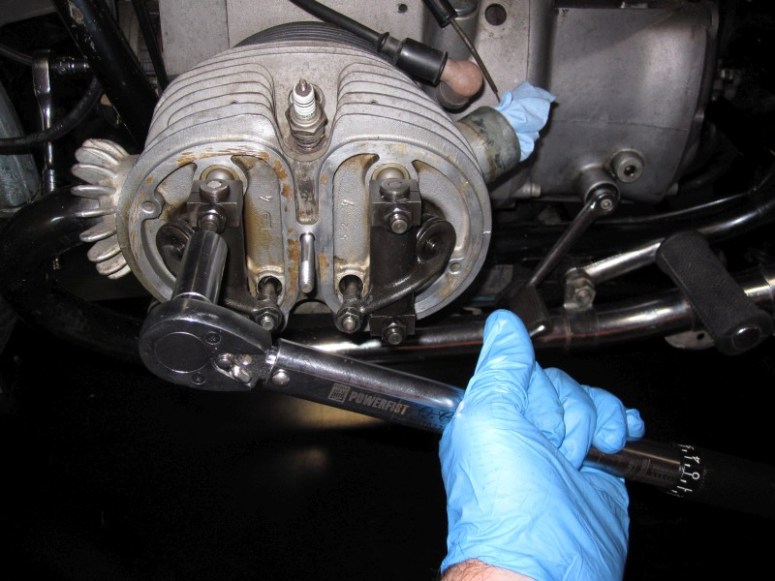
Next step is to retorque the cylinder head bolts after adjusting rocker end-play. The trick here is to back each one off by half a turn then retorque it to it’s proper value in the proper sequence (basically a criss-cross pattern finishing with the top and bottom). The good news here is that none of the studs were stripped.
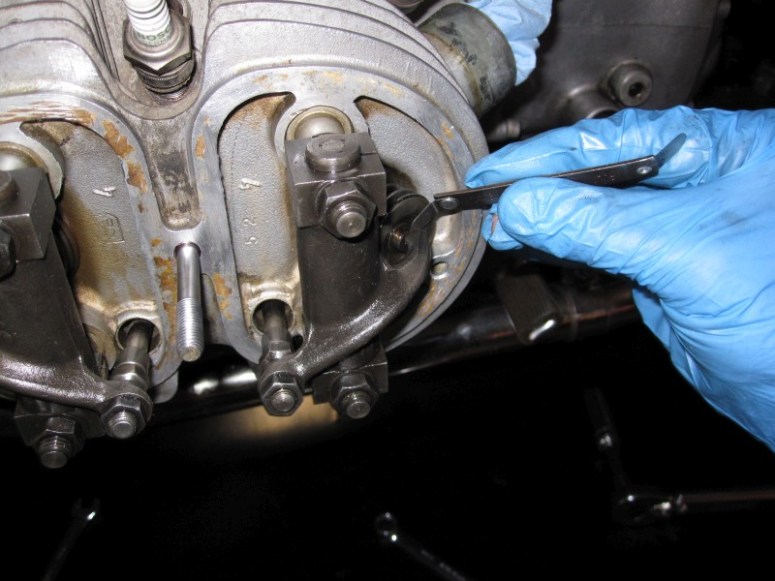
Then we get to the valves. They were not too far off, but the lock-nuts were on there VERY tightly. This appears to be a common theme with PO’s. Tighten everything as if your life depended on it. I generally go with a grip on the wrench just around the head of the bolt, then lift my pinky finger and give it a little torque. It felt good to just tighten them properly. Intake valve set at 0.006″, exhaust at 0.008″
Then basically rinse and repeat for the other side, complete with re-tapping the treads for a new stud on the right side as well.
