January 3rd 2017
When I disassembled the steering and forks, I counted 44 ball bearings in total, 22 on the upper steering head and 22 on the lower. However, when I looked at the parts fiche, it mentions that there are 46 in total. I was pretty sure that I didn’t drop any on disassembly, but I couldn’t be sure someone had been in there previously. Ordered a few ball bearings from Max ( $ 0.50 each) and away we go with re-assembly

The steering damper was also interesting to re-assemble, glad I took a bunch of pictures when I was disassembling it. All parts cleaned, lubed and installed without incident.

The front brake pads are in decent shape. The rear ones not so much. They will require re-lining. The front brake was simply dismantled, lubed at all the critical points and put back together again. The brake pads were bathed in Pine Sol which did a very nice job in cleaning and degreasing them.
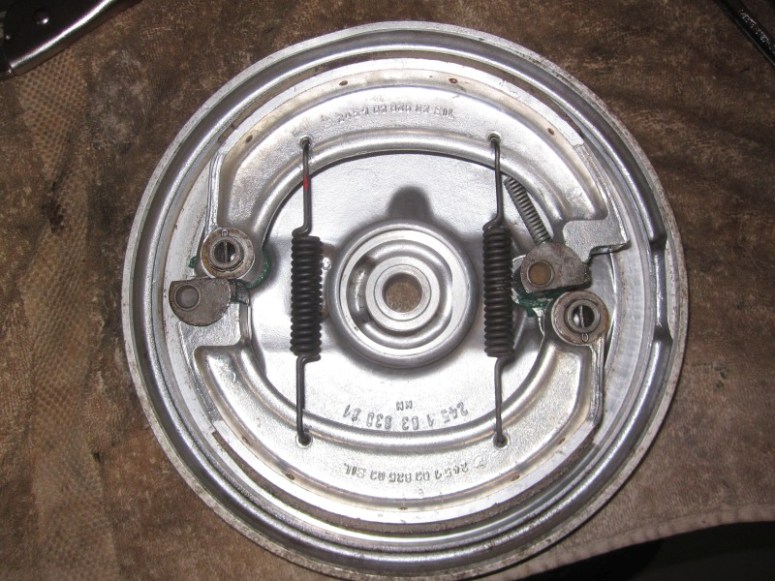
The outside parts were also cleaned up in mineral spirits and re-assembled.

Starting to look good…

The cleaned-up advance unit was re-installed on the camshaft,
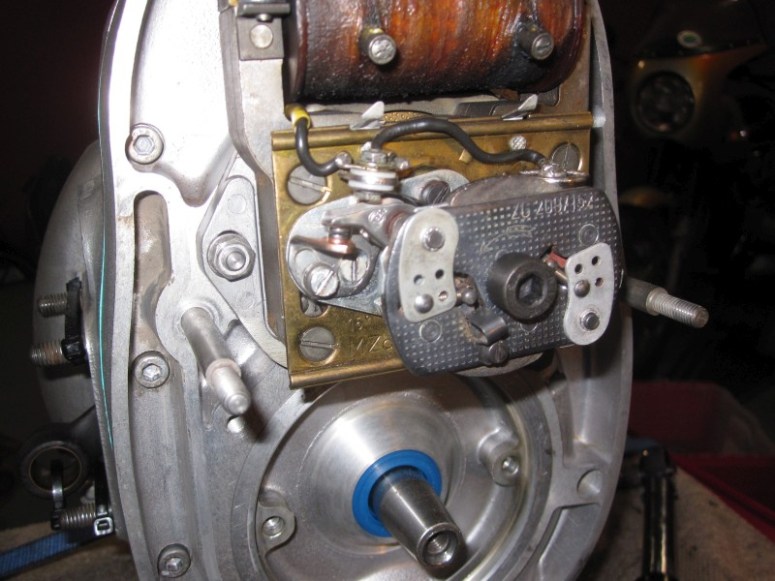
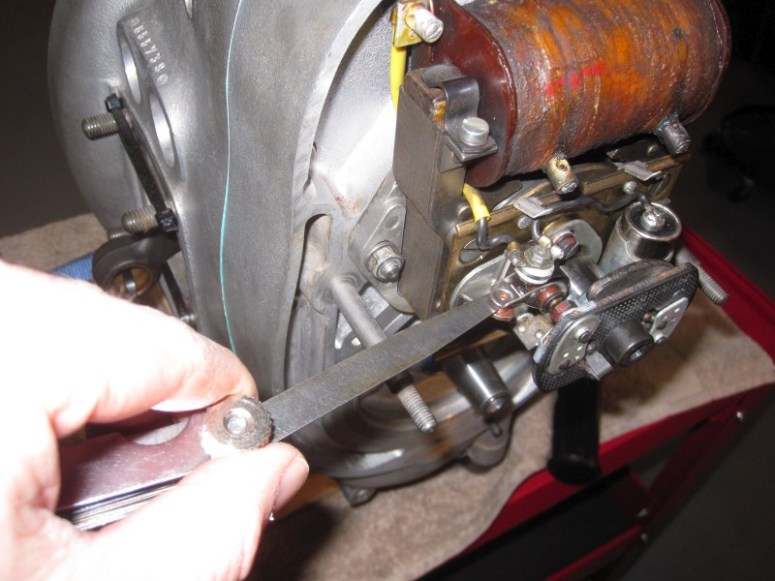
… then the points gap was set to 0.4 mm (0.16 inches)
Then the front cover was bolted on.
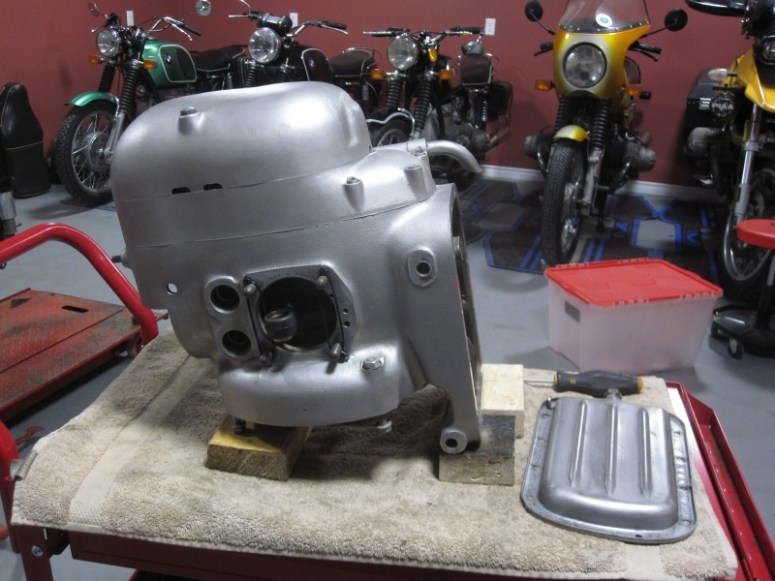
We’re now ready to re-install the oil strainer and oil pan.

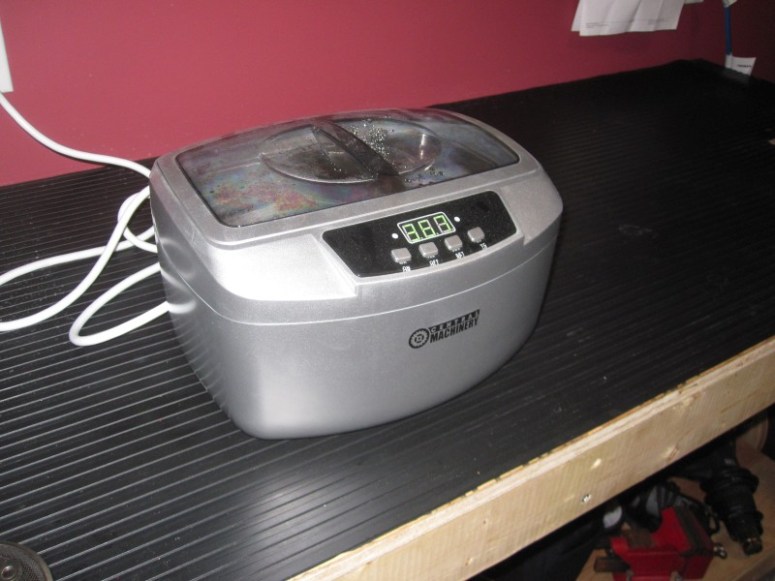
First step was to clean up the hardware to fasten these parts. A few minutes in the ultrasonic cleaner and they came out nice’n’clean.
empty sump,
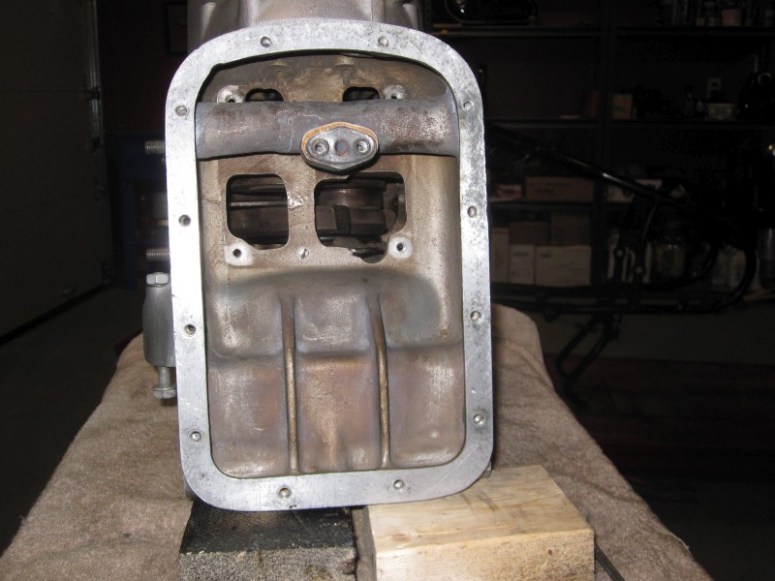
step one is to install the screen, who’s role I imagine is to prevent big bits from falling in the sump.

Next the oil strainer goes on, fastened and secured with a bent plate.
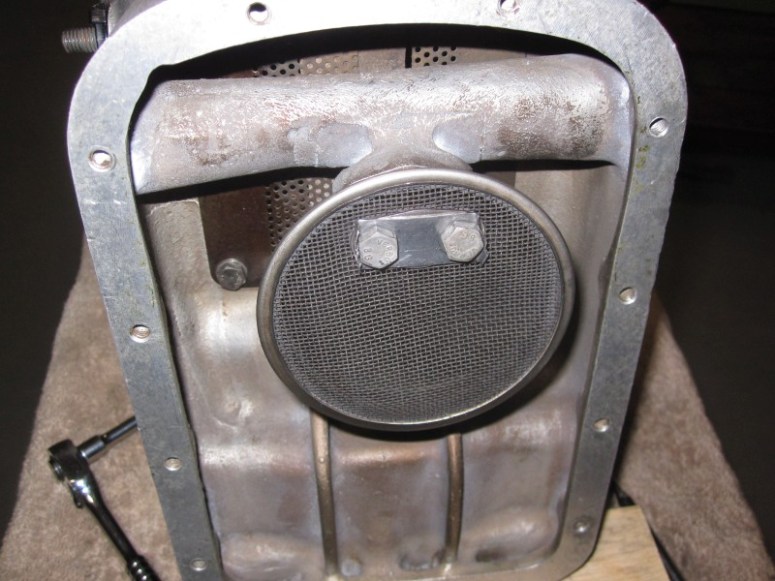
As most of the oil pan bolts go straight through the sump, I applied a bit of sealant around each bolt before torquing them to 80 in-lbs of torque in a crisscross fashion, starting from the middle and working my way out. The new cork gasket was installed dry.
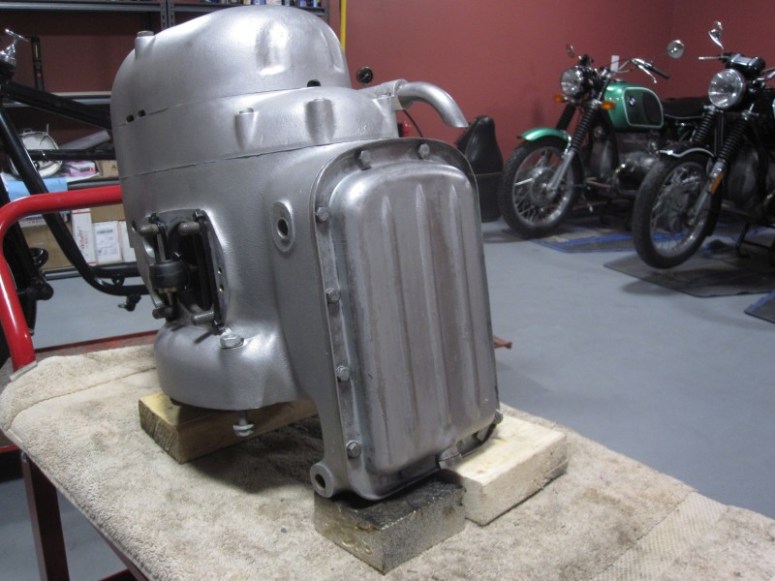
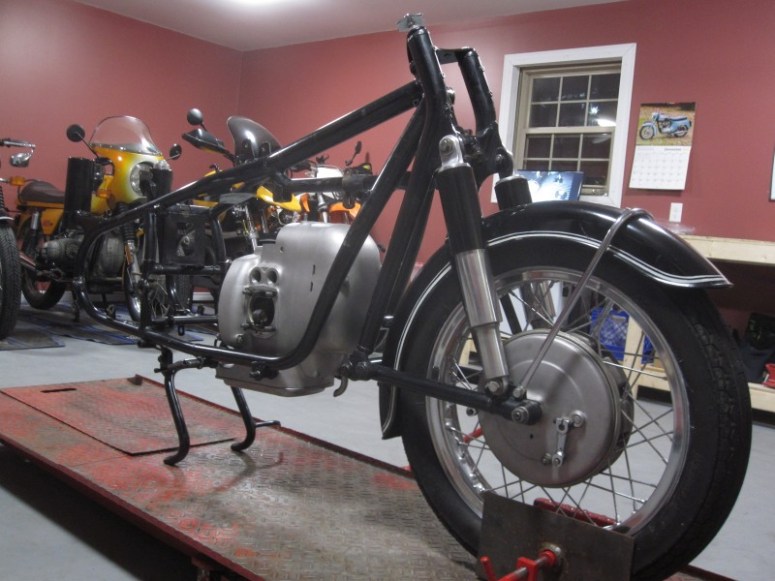
The short block is now ready to go back into the frame.

I think I’ll wait till I have a bit of help to do this, as it’s starting to gather a bit of weight with all the attached parts… Nonetheless, pretty good progress today.

January 5th 2017
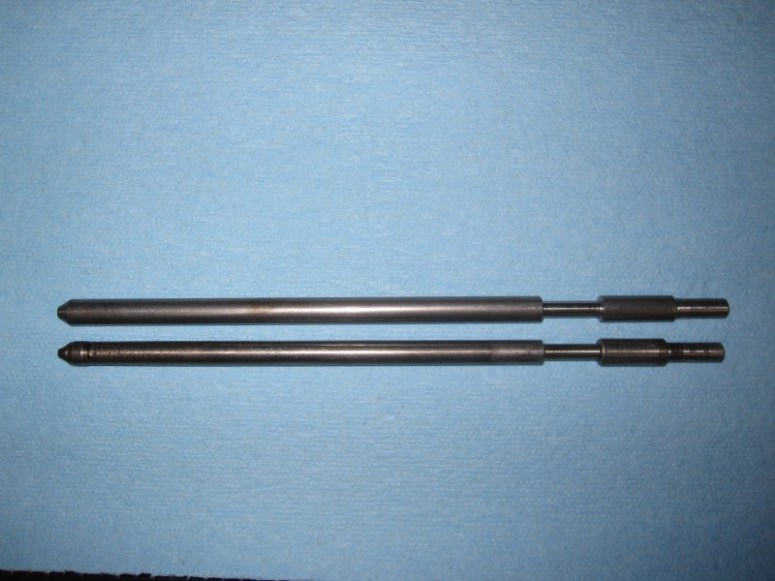
No help was forthcoming, but figured that with a small hydraulic jack I would be able to easily assemble the short block onto the frame. However prior to doing this, I just wanted to do a “dry run” and be sure the transmission easily fit onto the motor, that the clutch plates were well enough aligned for the transmission to slide in. I’m glad I did, as the clutch splines were almost lined-up right but maybe off by a mm or so. Easier to wiggle the transmission around without having to deal with the pesky frame while doing so. Once the transmission was bolted on I noted that the clutch wouldn’t disengage. After several dis assemblies / re-assemblies the problem persisted. Would work fine until the final tightening up of the transmission against the case. This made me have a good look at the clutch pushrod. The old one was broken and well worn so I had replaced it with a new one from Max. However putting them side-by-side reveals an obvious difference. Sure enough, when I put in the old broken and worn clutch pushrod, everything works like it should.
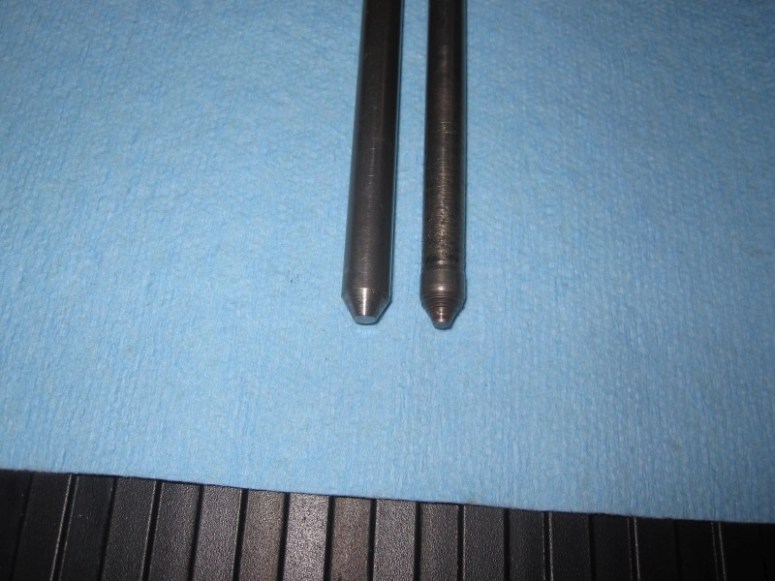
That last step-down on the right side is where the thrust plate-bearing sits. the new rod (on top) shows this shoulder much closer to the end of the thrust rod. Unfortunately, the old one is too worn to re-use (see below). Some reading on the internet confirmed that this wear pattern is fairly typical for a worn rear main crank bearing.
closer look here of the new clutch pushrod Vs the old
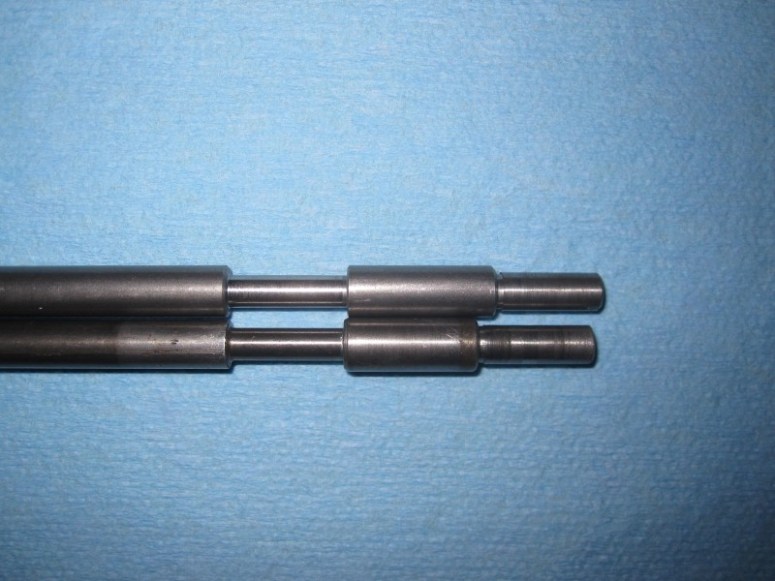
actual measurements reveal about a 0.34 mm difference. This is enough to cause the clutch to remain engaged even with the adjustment pushed out to the max.

More reading and searching on the web revealed that the pushrod was changed in 1965 to a slightly longer version (what I have). Unfortunately, the part number on Max’s fiche is the same even if I look at older motorcycles. Just a case of a newer version superseding an old part. I’ll have to fix the new part somehow.
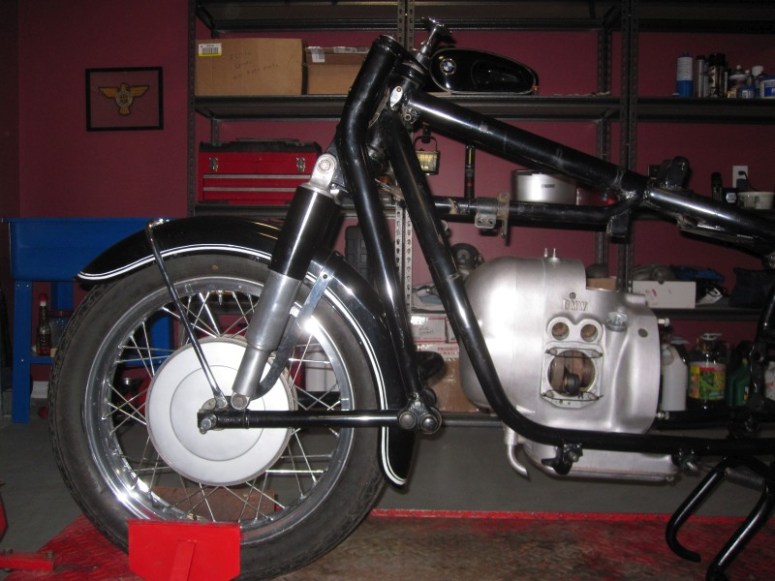
At any rate, now that I know what the problem is , the motor is ready to go back into the frame. This went quite easily, by using a car jack with a piece of 2 x 4 on it to protect the soft oil pan.

January 8th 2017
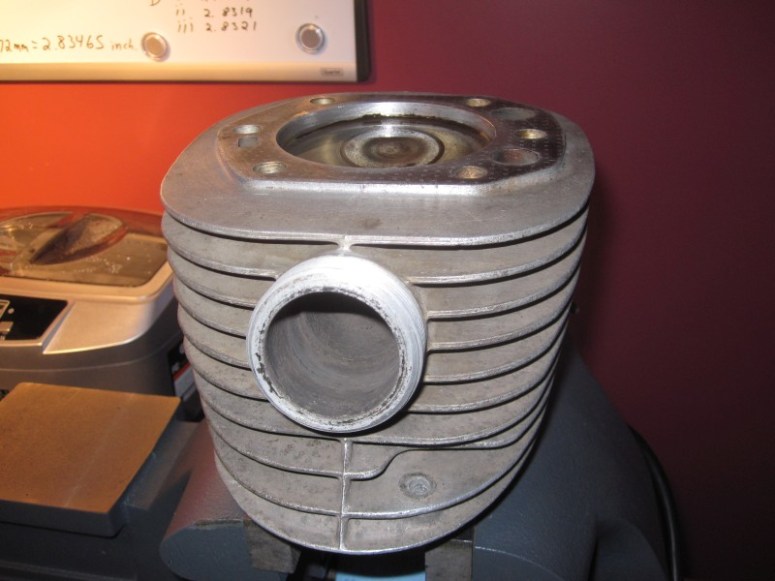
Spent a couple of hours learning how to play with my latest toy, a bore dial indicator. Time to see if the cylinders are round and within spec.
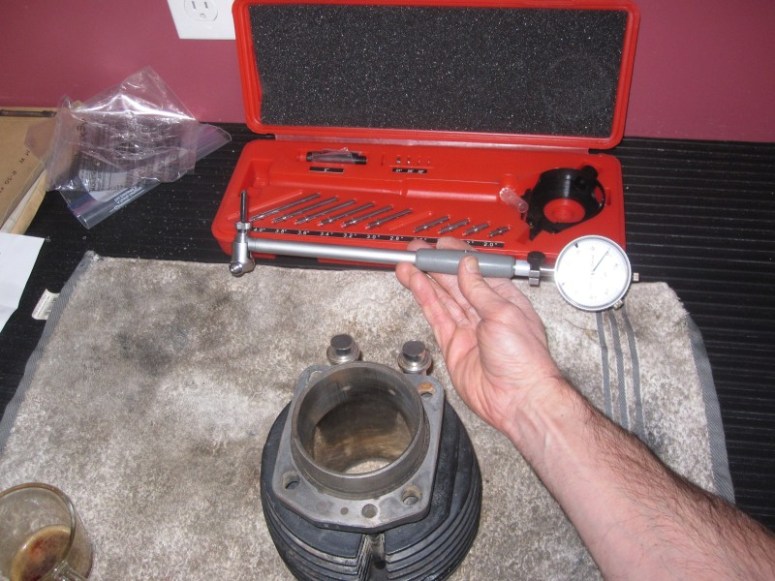
Here we go…
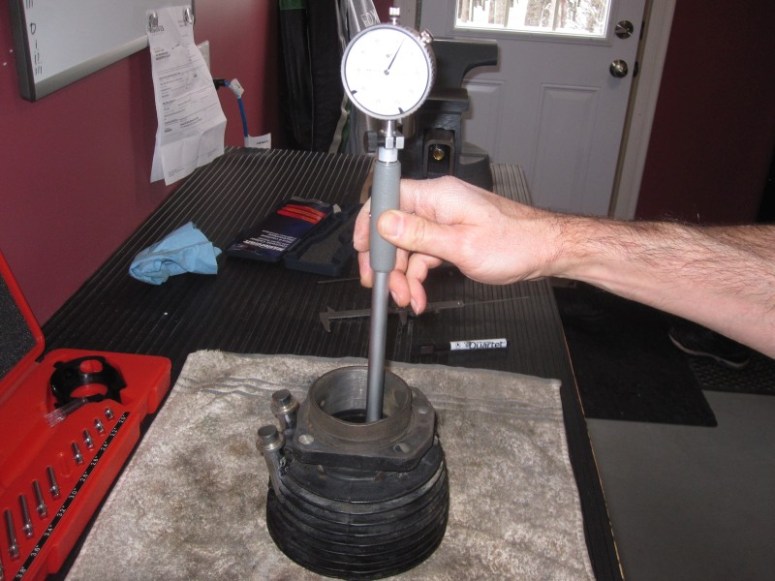
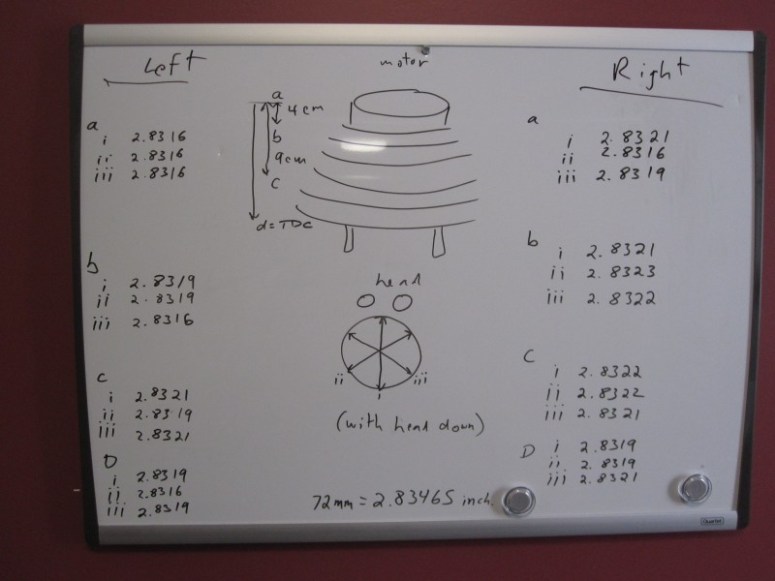
… and here are the final results. The out of round tolerance spec is 0.0004 inches, and I’m pleased to see that this is where the results lie. I took measurements at 4 points within the cylinders, innermost point (a), at Bottom Dead Center (b), about halfway between BDC and TDC (c) as well as Top Dead Center(d). With the cylinders in good shape, I can just clean them up and be good with it. I’m not absolutely certain of my dial indicator initial adjustment, here shown for 72 mm = 2.83465, as I didn’t have a micrometer to measure from 2-3 inches. I used a vernier caliper instead, which only measures to 0.01 mm or 0.0004 inches, but may not be perfect at these minute measurements. The important thing however is that the measurements within the cylinders are within spec of each other.
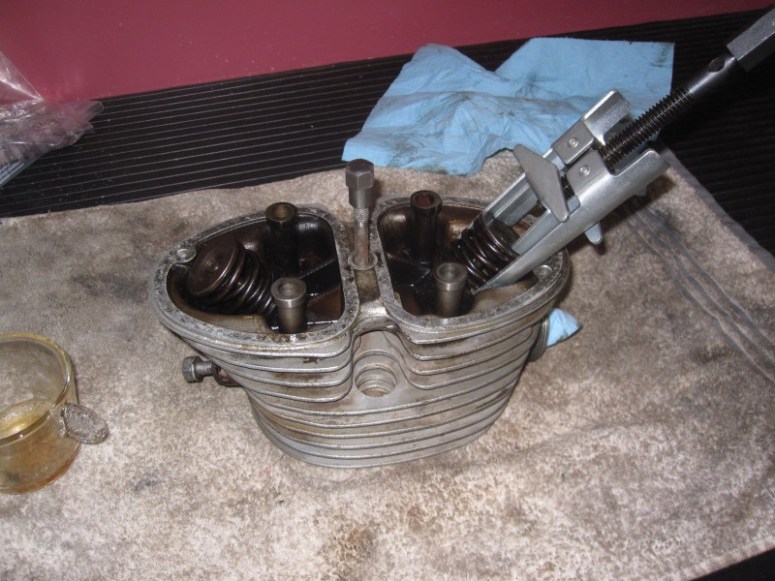
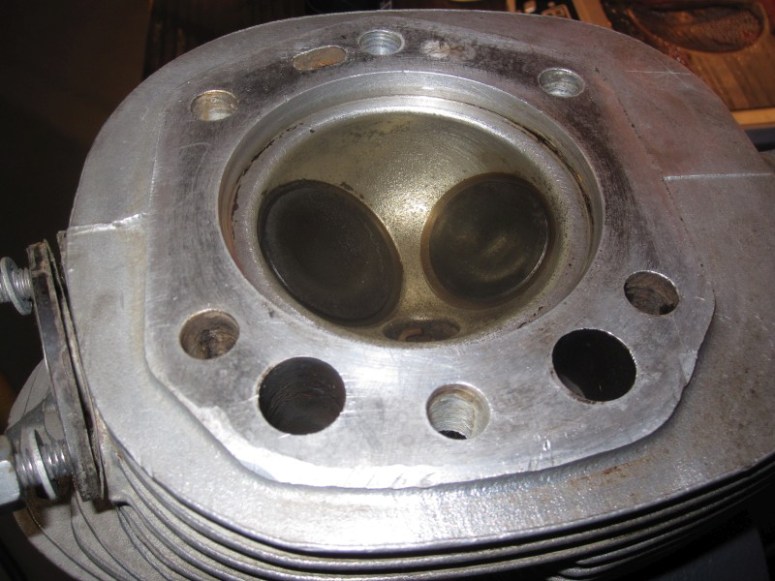
The heads are also getting an inspection and cleaning
January 29th 2017
It’s been a while since I updated this section, mainly because I’ve only been working in the shop in small 30 – 45 minute aliquots of time due to life going on around me. In the last few weeks I did manage to finish cleaning up the heads and their valves.
After this, I did the poor man’s leakdown test, just simply filling up the heads with solvent and seeing if there was any seepage.
a bit hard to see in the picture, but trust me, there is some solvent in there. It’s filling up the whole combustion chamber.
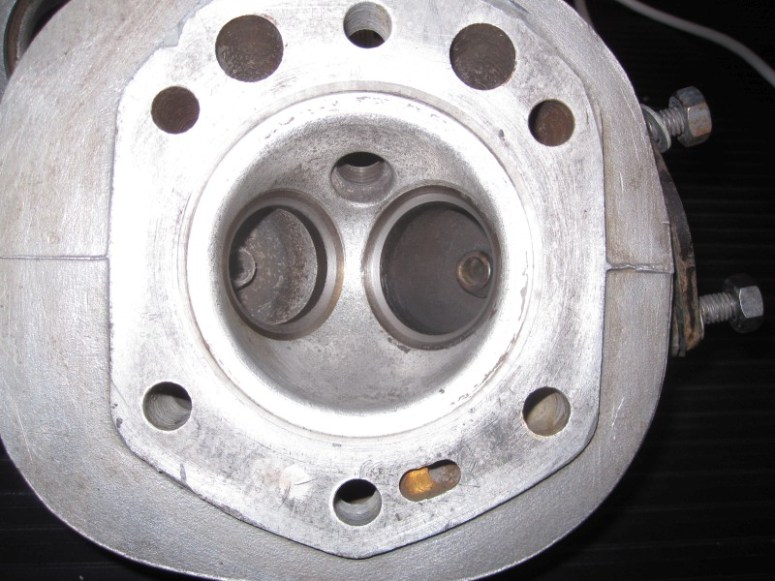
Things remained dry for about 7-8 minutes then a few drops formed through the exhaust valve side of things. Here’s a view from underneath.
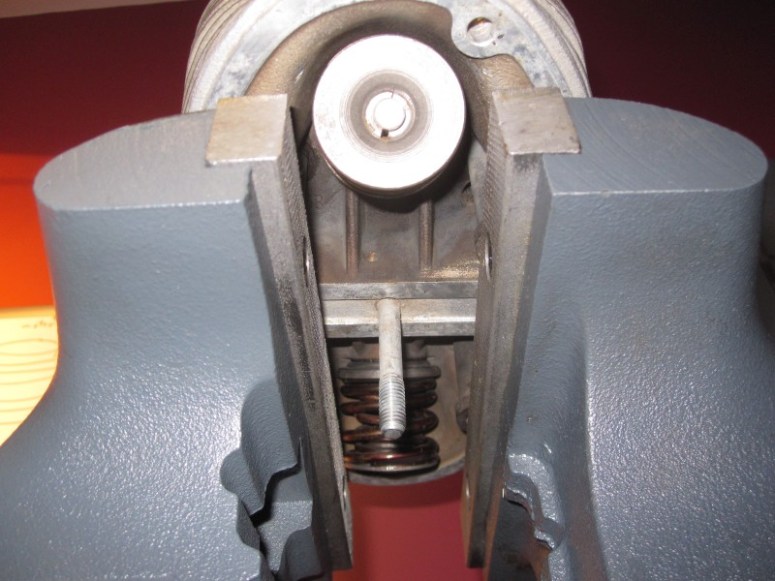
The other side was about the same. The bike was running fine with no smoking prior to disassembly. In hindsight, I should have done this test before and after cleaning things up, as there was some carbon buildup on the seats, so I’m thinking leakage was probably worse before the cleanup. I think if we start changing one item in the heads everything snowballs then you’re into replacing all valves, guides, seats, springs, keepers. After some discussion with Dave, the plan is to put everything back together and keep this bit of info tucked away in our back pockets for future reference.
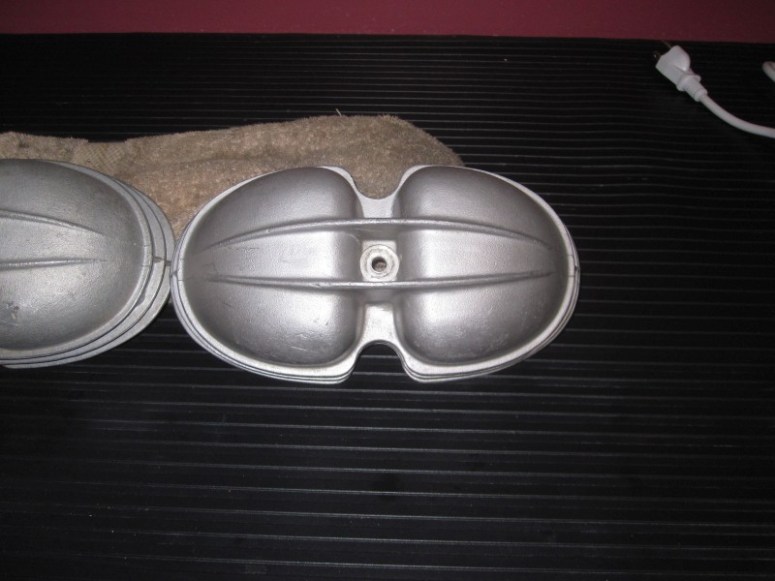
On a side note, the valve covers cleaned up nicely and will be re-used as well.
